- Published on
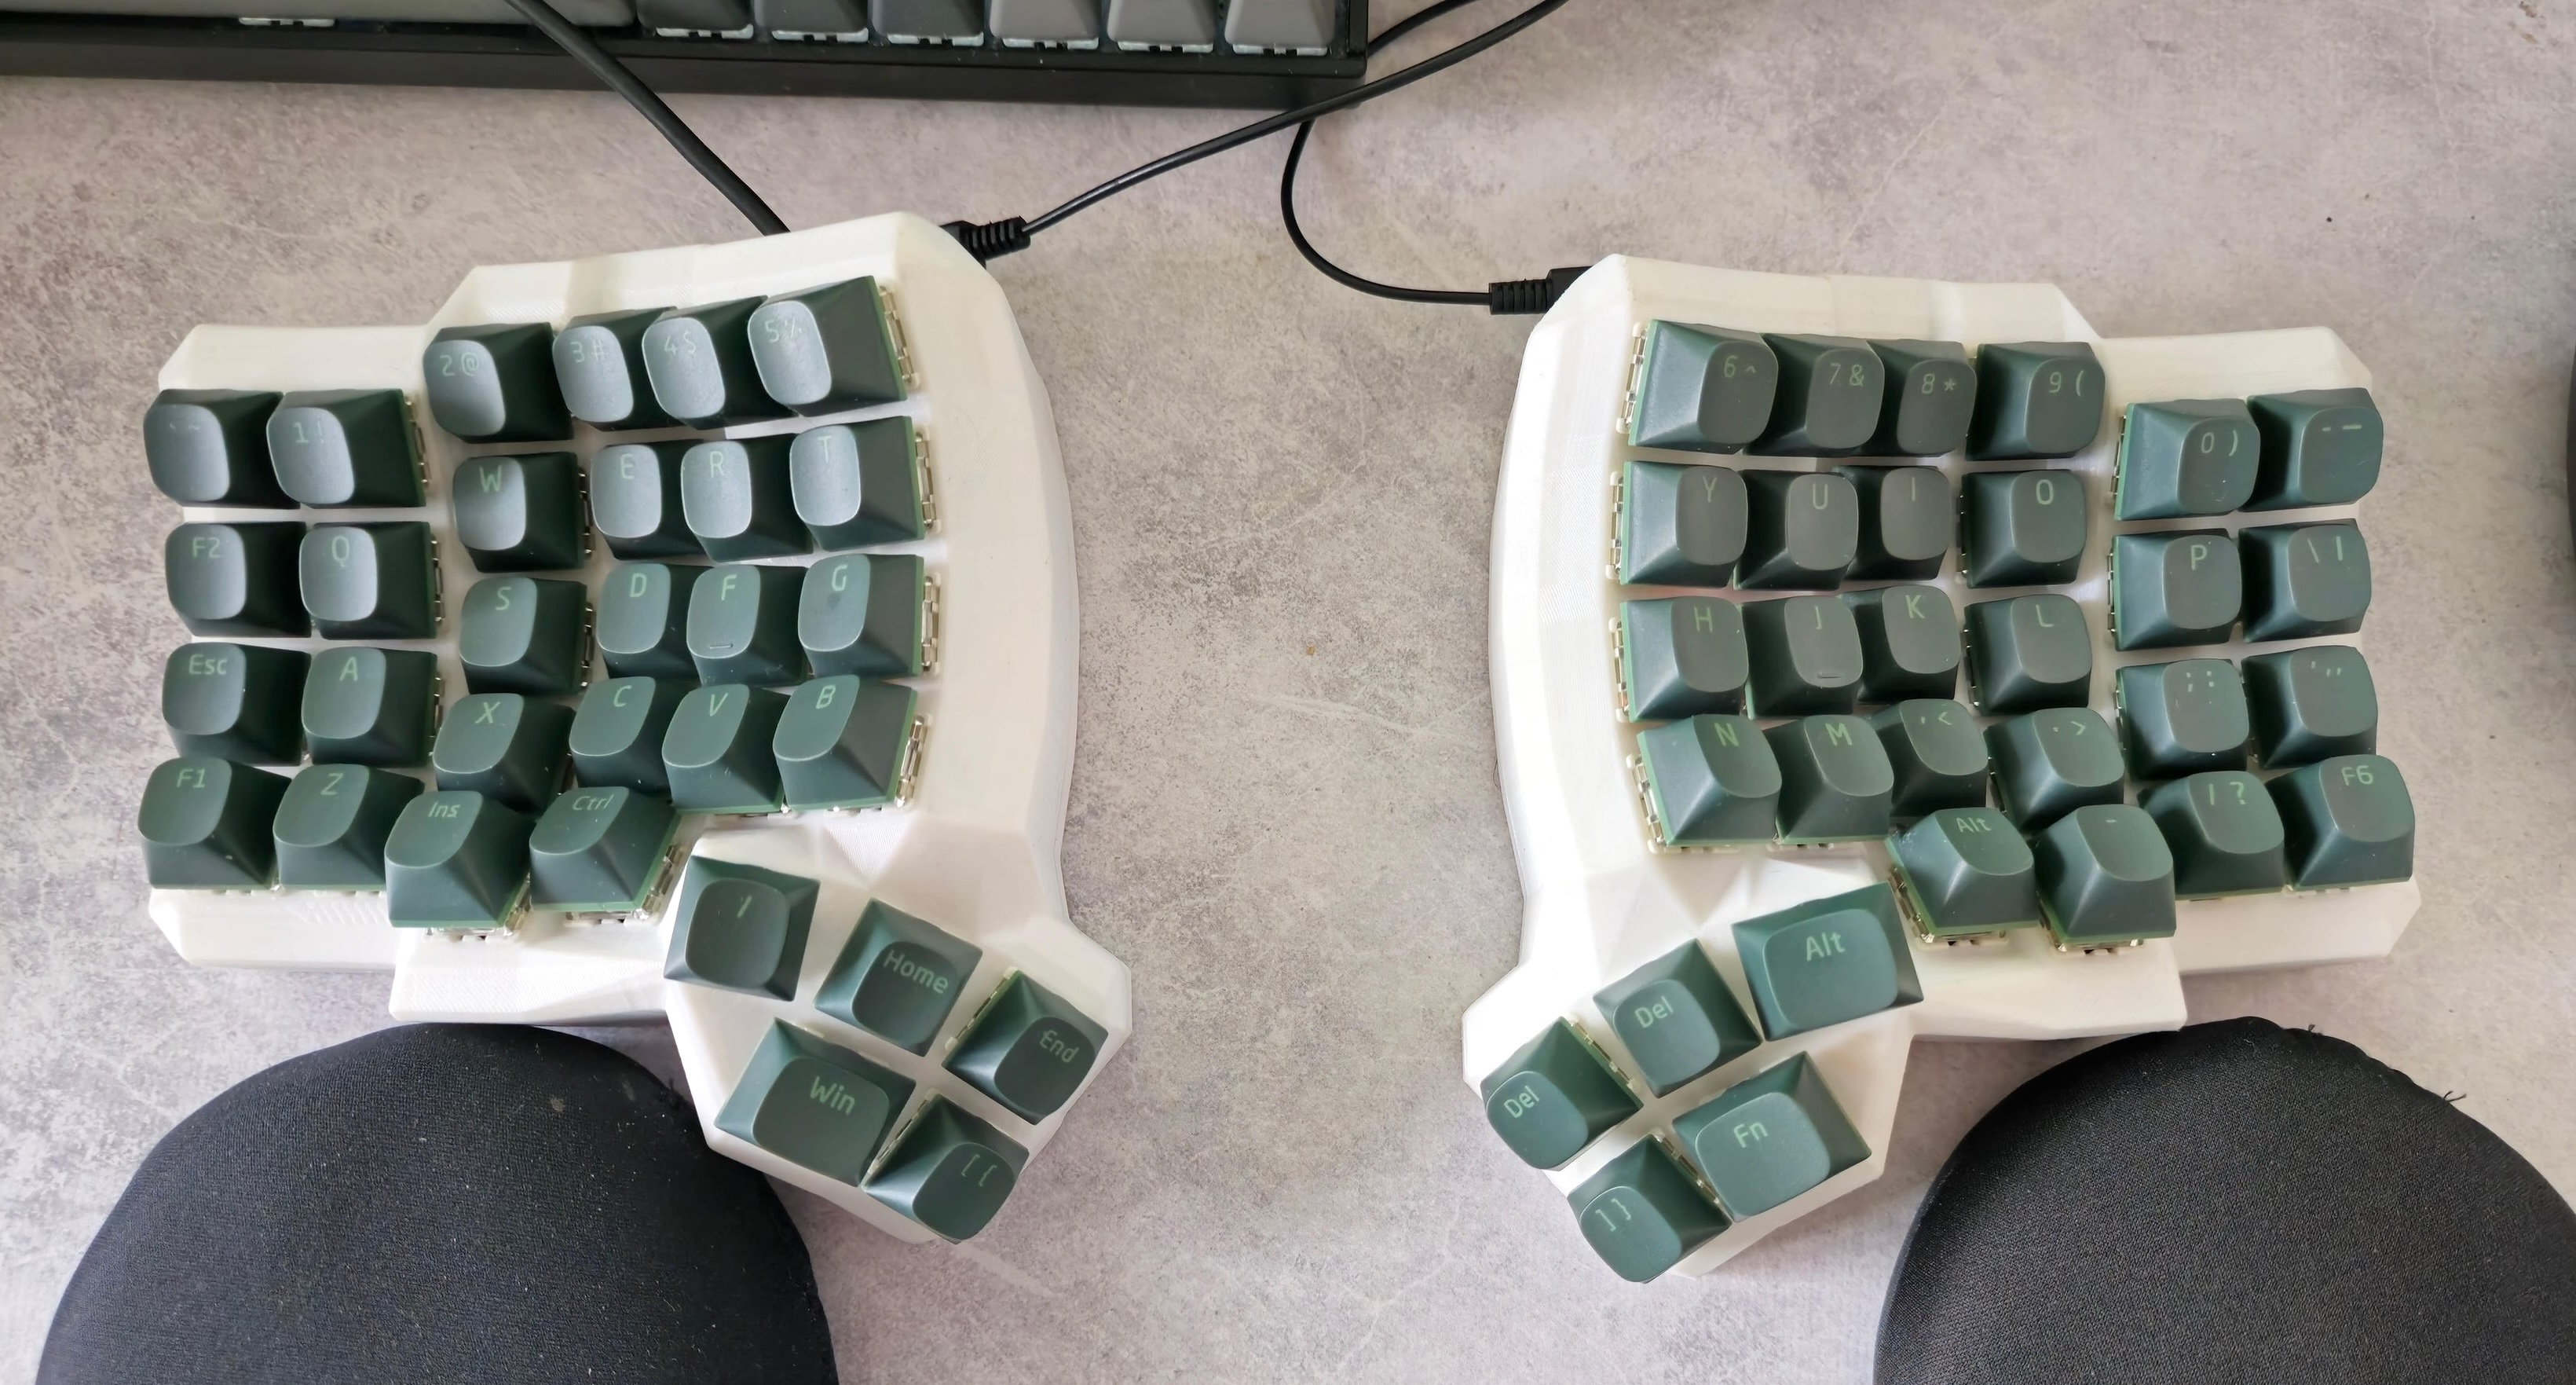
Building a Dactyl Manuform Mini Keyboard
- Authors

- Name
- Danial Khosravi
- @danial_kh
Background
Back in 2022, I had plans to dive into the world of custom ergonomic keyboards and I got myself a Creality Ender 3 Pro 3D printer and stepped into the world of 3D printing, but life happened, and the only thing I ended up printing was a couple of utility items for around the house. Fast forward to July 2024, I randomly came across the Building Dactyl Cygnus video on YouTube, and it instantly reignited that old spark. I loved how sleek the design was, especially with the use of PCBs and the support for hot swapping keys.
So, I went ahead and printed a Dactyl Cygnus, but quickly realized that maybe starting with a split, 36-key layout wasn’t the smartest move for my first build. It was probably going to be a huge adjustment from my regular keyboard. It felt like too big of a leap into the world of split or ortholinear keyboards.
Instead, I did a bit more research and decided to go with Dactyl Manuform Mini 5x6. I preferred it over the bulkier look of the original non-mini Dactyl Manuform variant.
Research
The original l4u/dactyl-manuform-mini-keyboard had a few little design choices that I didn't like such as
- the inserted nut holders would be sticking out of the exterior of the keyboard
- Missing STL for the bottom plate (at this point in the journey I did not know how to create one myself using the 2D files provided for laser cutting)
- Holes to be able to screw in su120 PCBs just like the Dactyl Cygnus
I found the bstiq/dactyl-manuform-mini-keyboard fork and its fork joseandres42/dactyl-manuform-mini-keyboard and this looked like it had most things I wanted.
At this point, I hadn't done much more research, didn't have the time to spend on learning and customizing the closure files to my liking and wanted to make some progress so I decided to just go ahead with printing the files from joseandres42/dactyl-manuform-mini-keyboard. It was missing the holes, but I thought I'd just super glue them in place (I ran into issues, but designed a solution you'll see below).
Resources
These are the two main resources I followed but there are plenty of videos on YouTube that I watched but most of the things I had to learn or plan to buy were from these two following resources
Dactyl Manuform Mini 5x6 Build
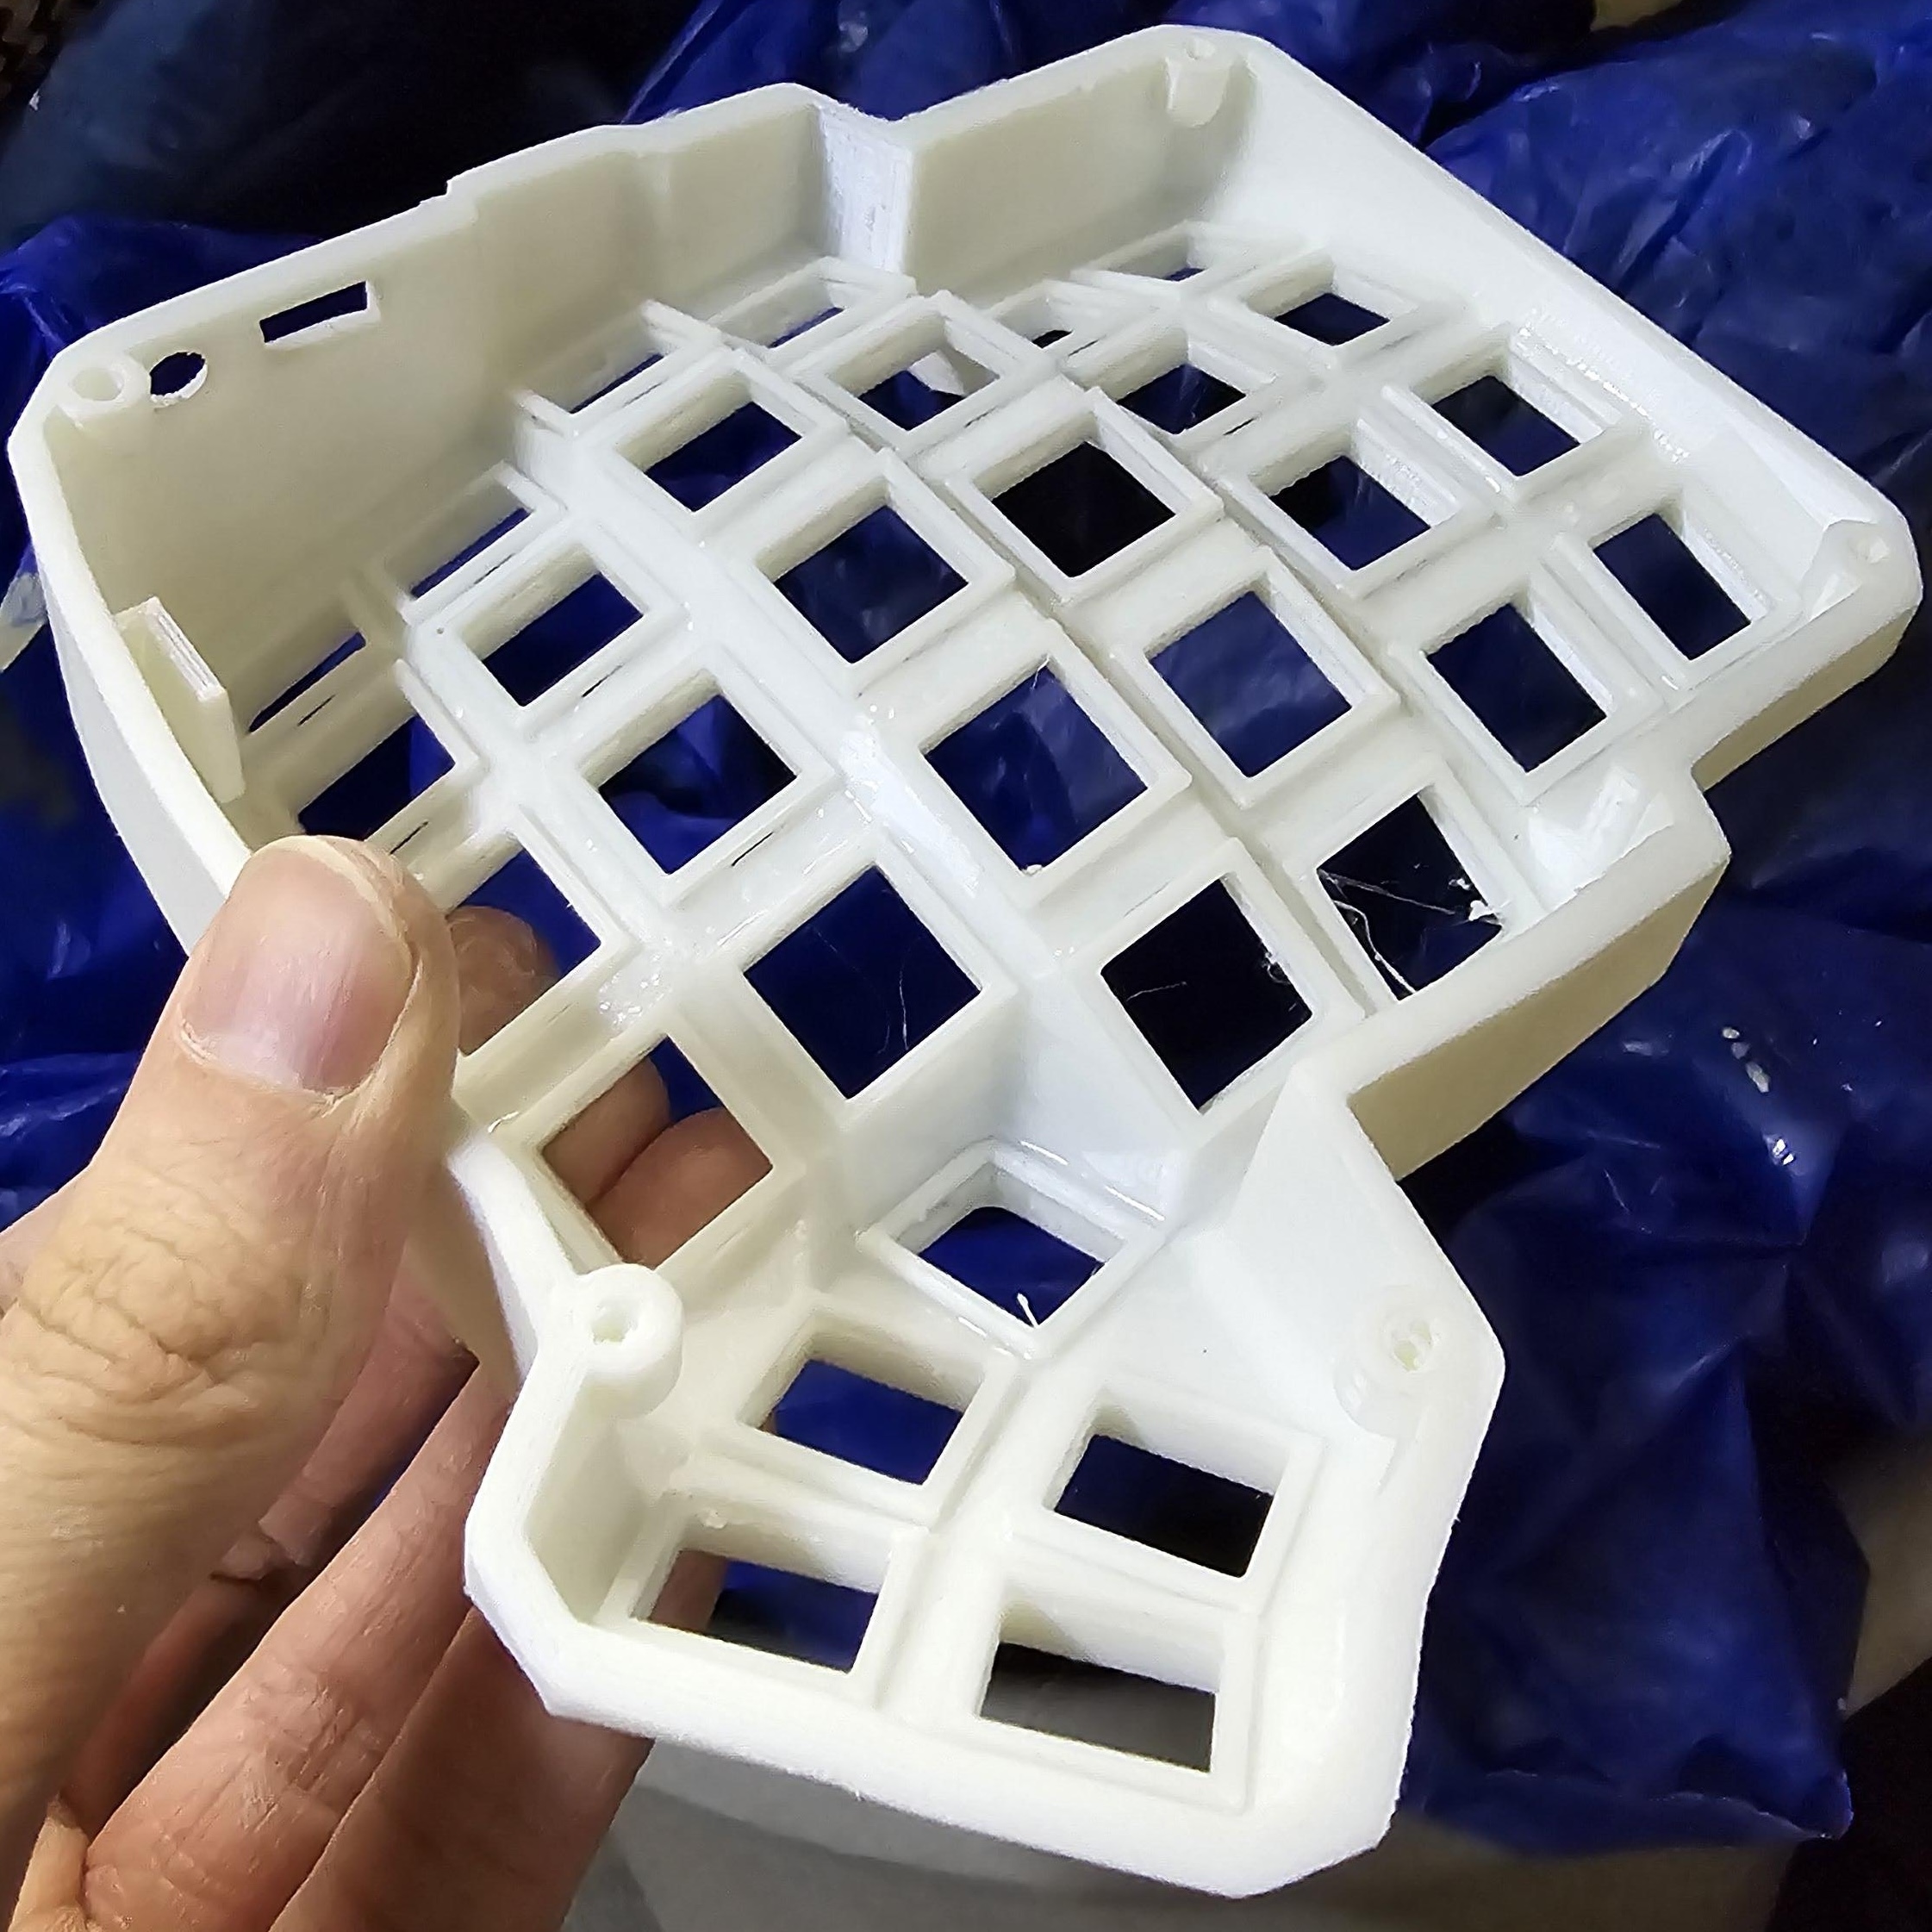
3D-Printing using normal support
I printed the keyboards on my stock Ender-3 Pro using PLA with OrcaSlicer. The only settings I changed was setting the first layer's line width to 125% for better adhesion which is something I always do.

The body was printed so cleanly and the white PLA easily hid any imperfections so I decided to actually not prime and paint this build. Originally, I had planned to paint it white anyways. In hindsight, I should've put a clear protective coat on it just so it's easier to clean it.
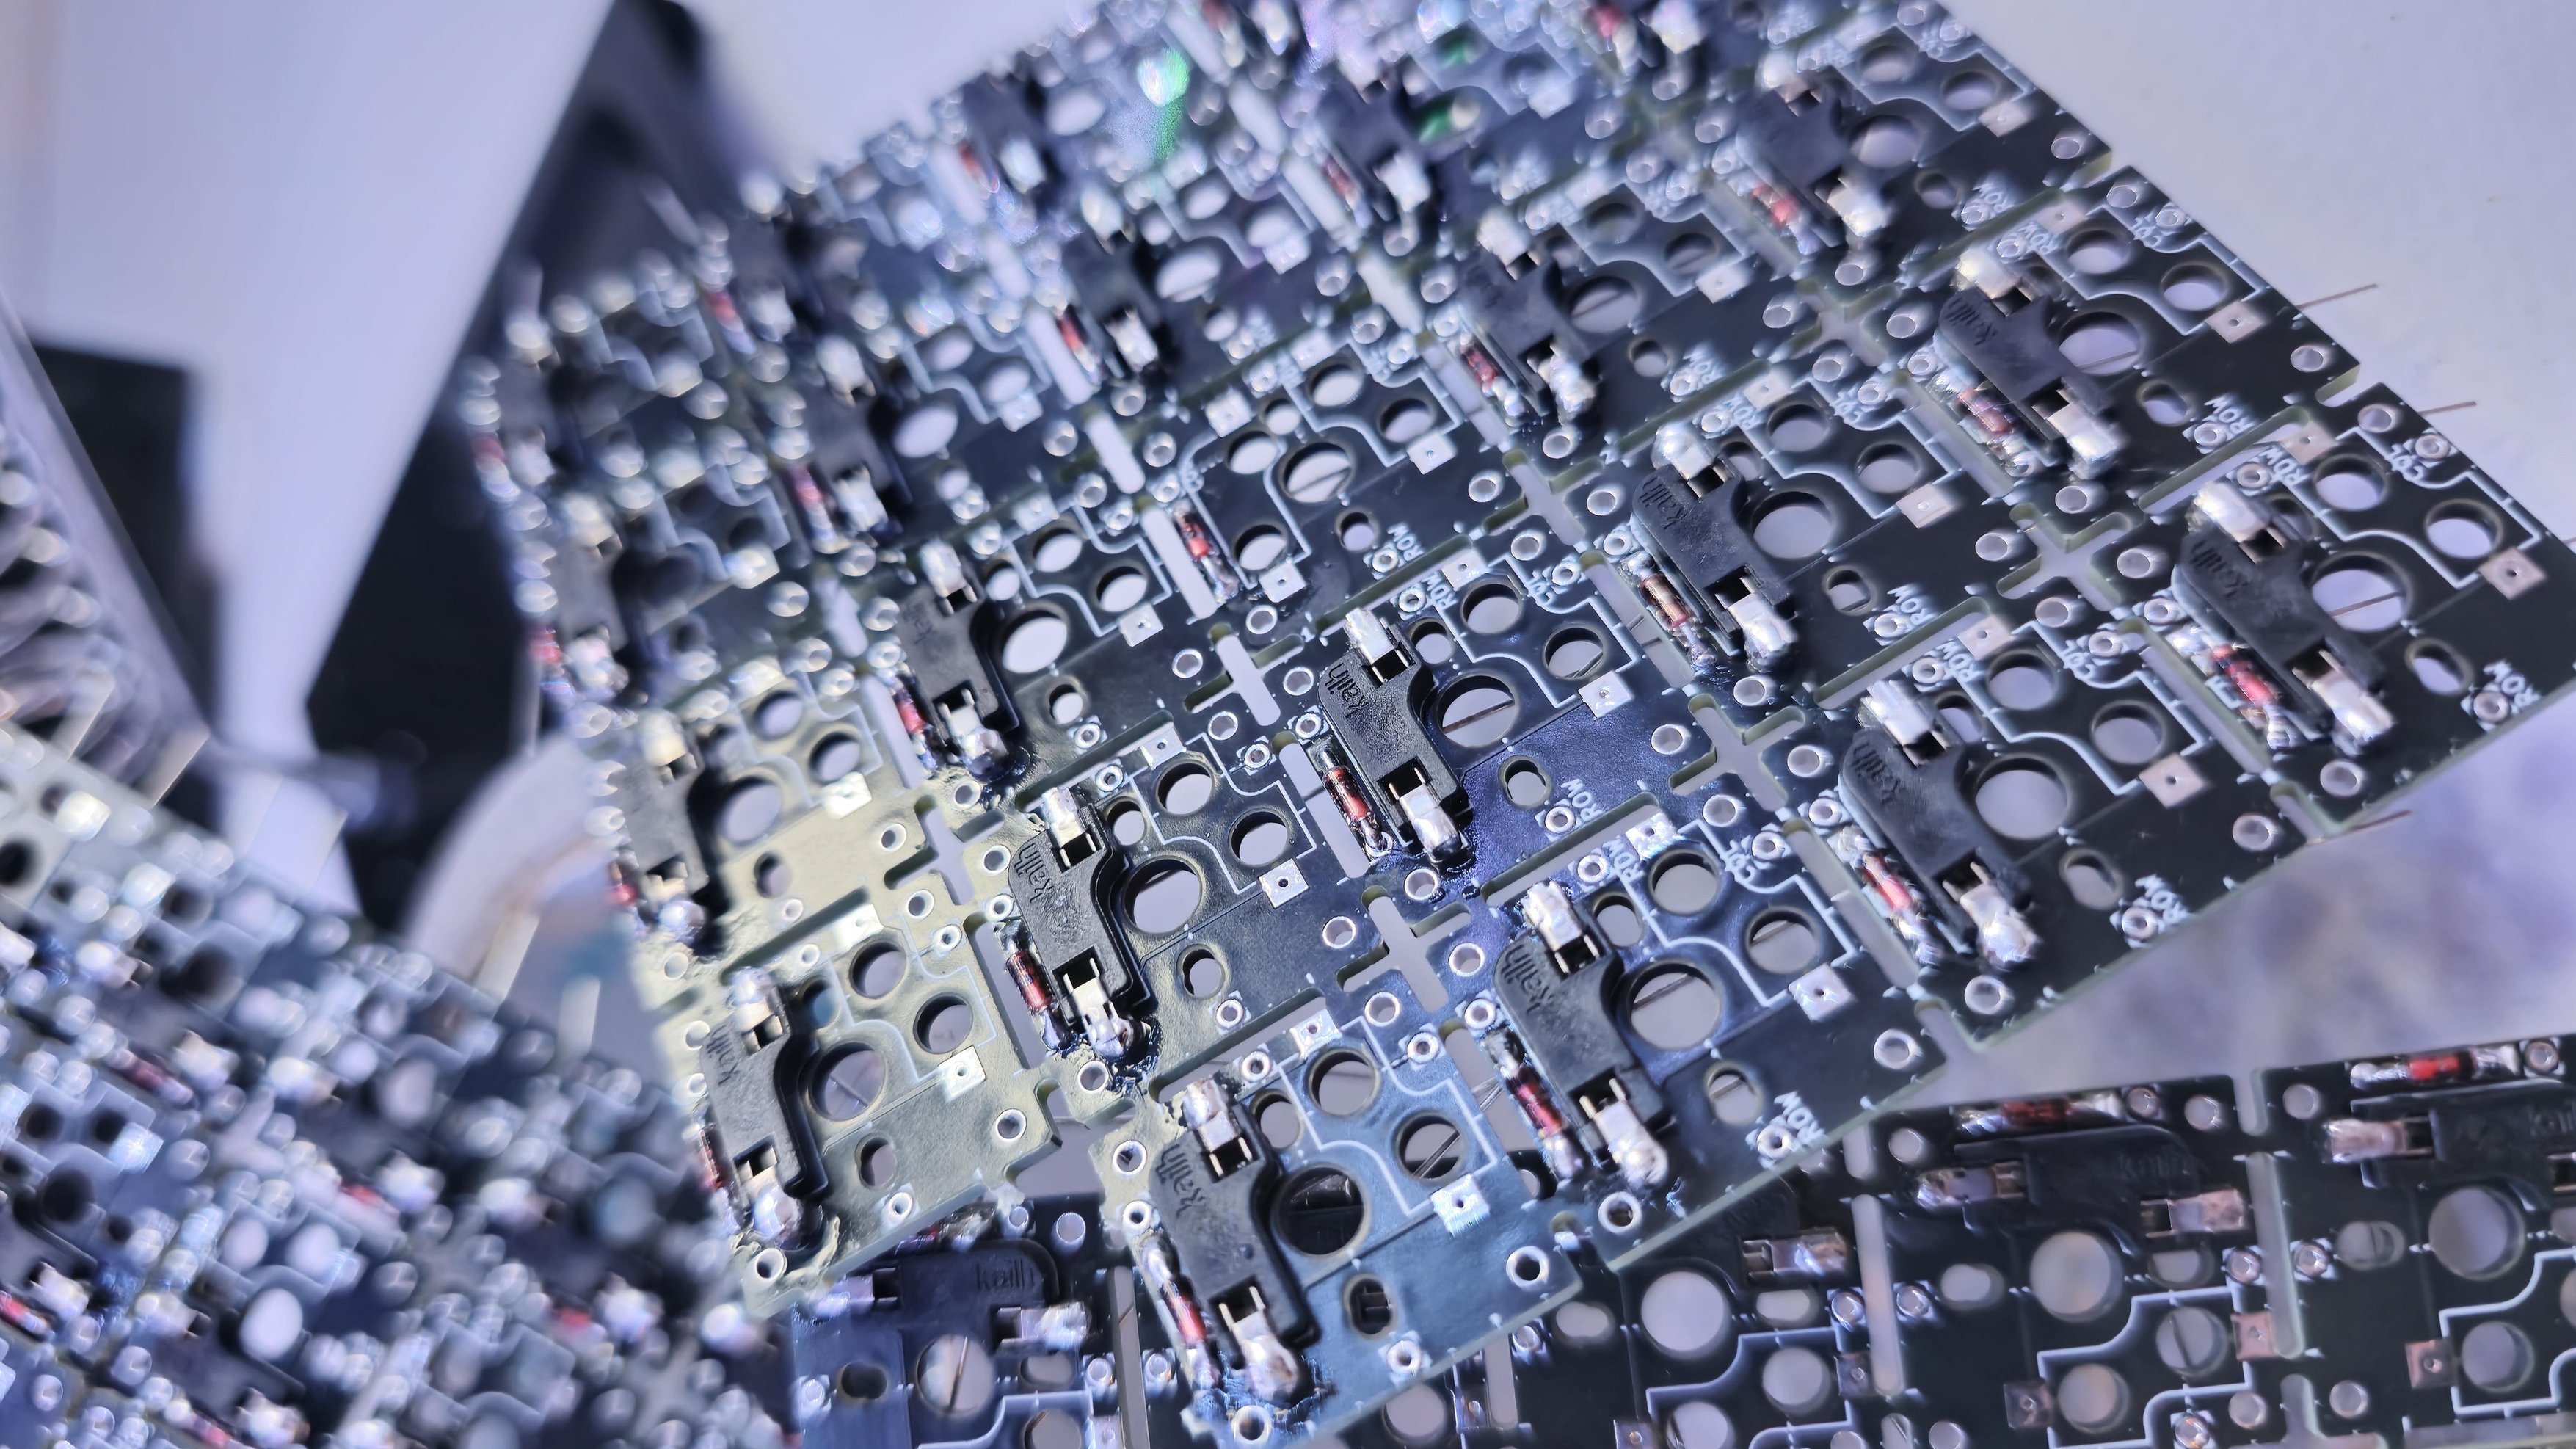
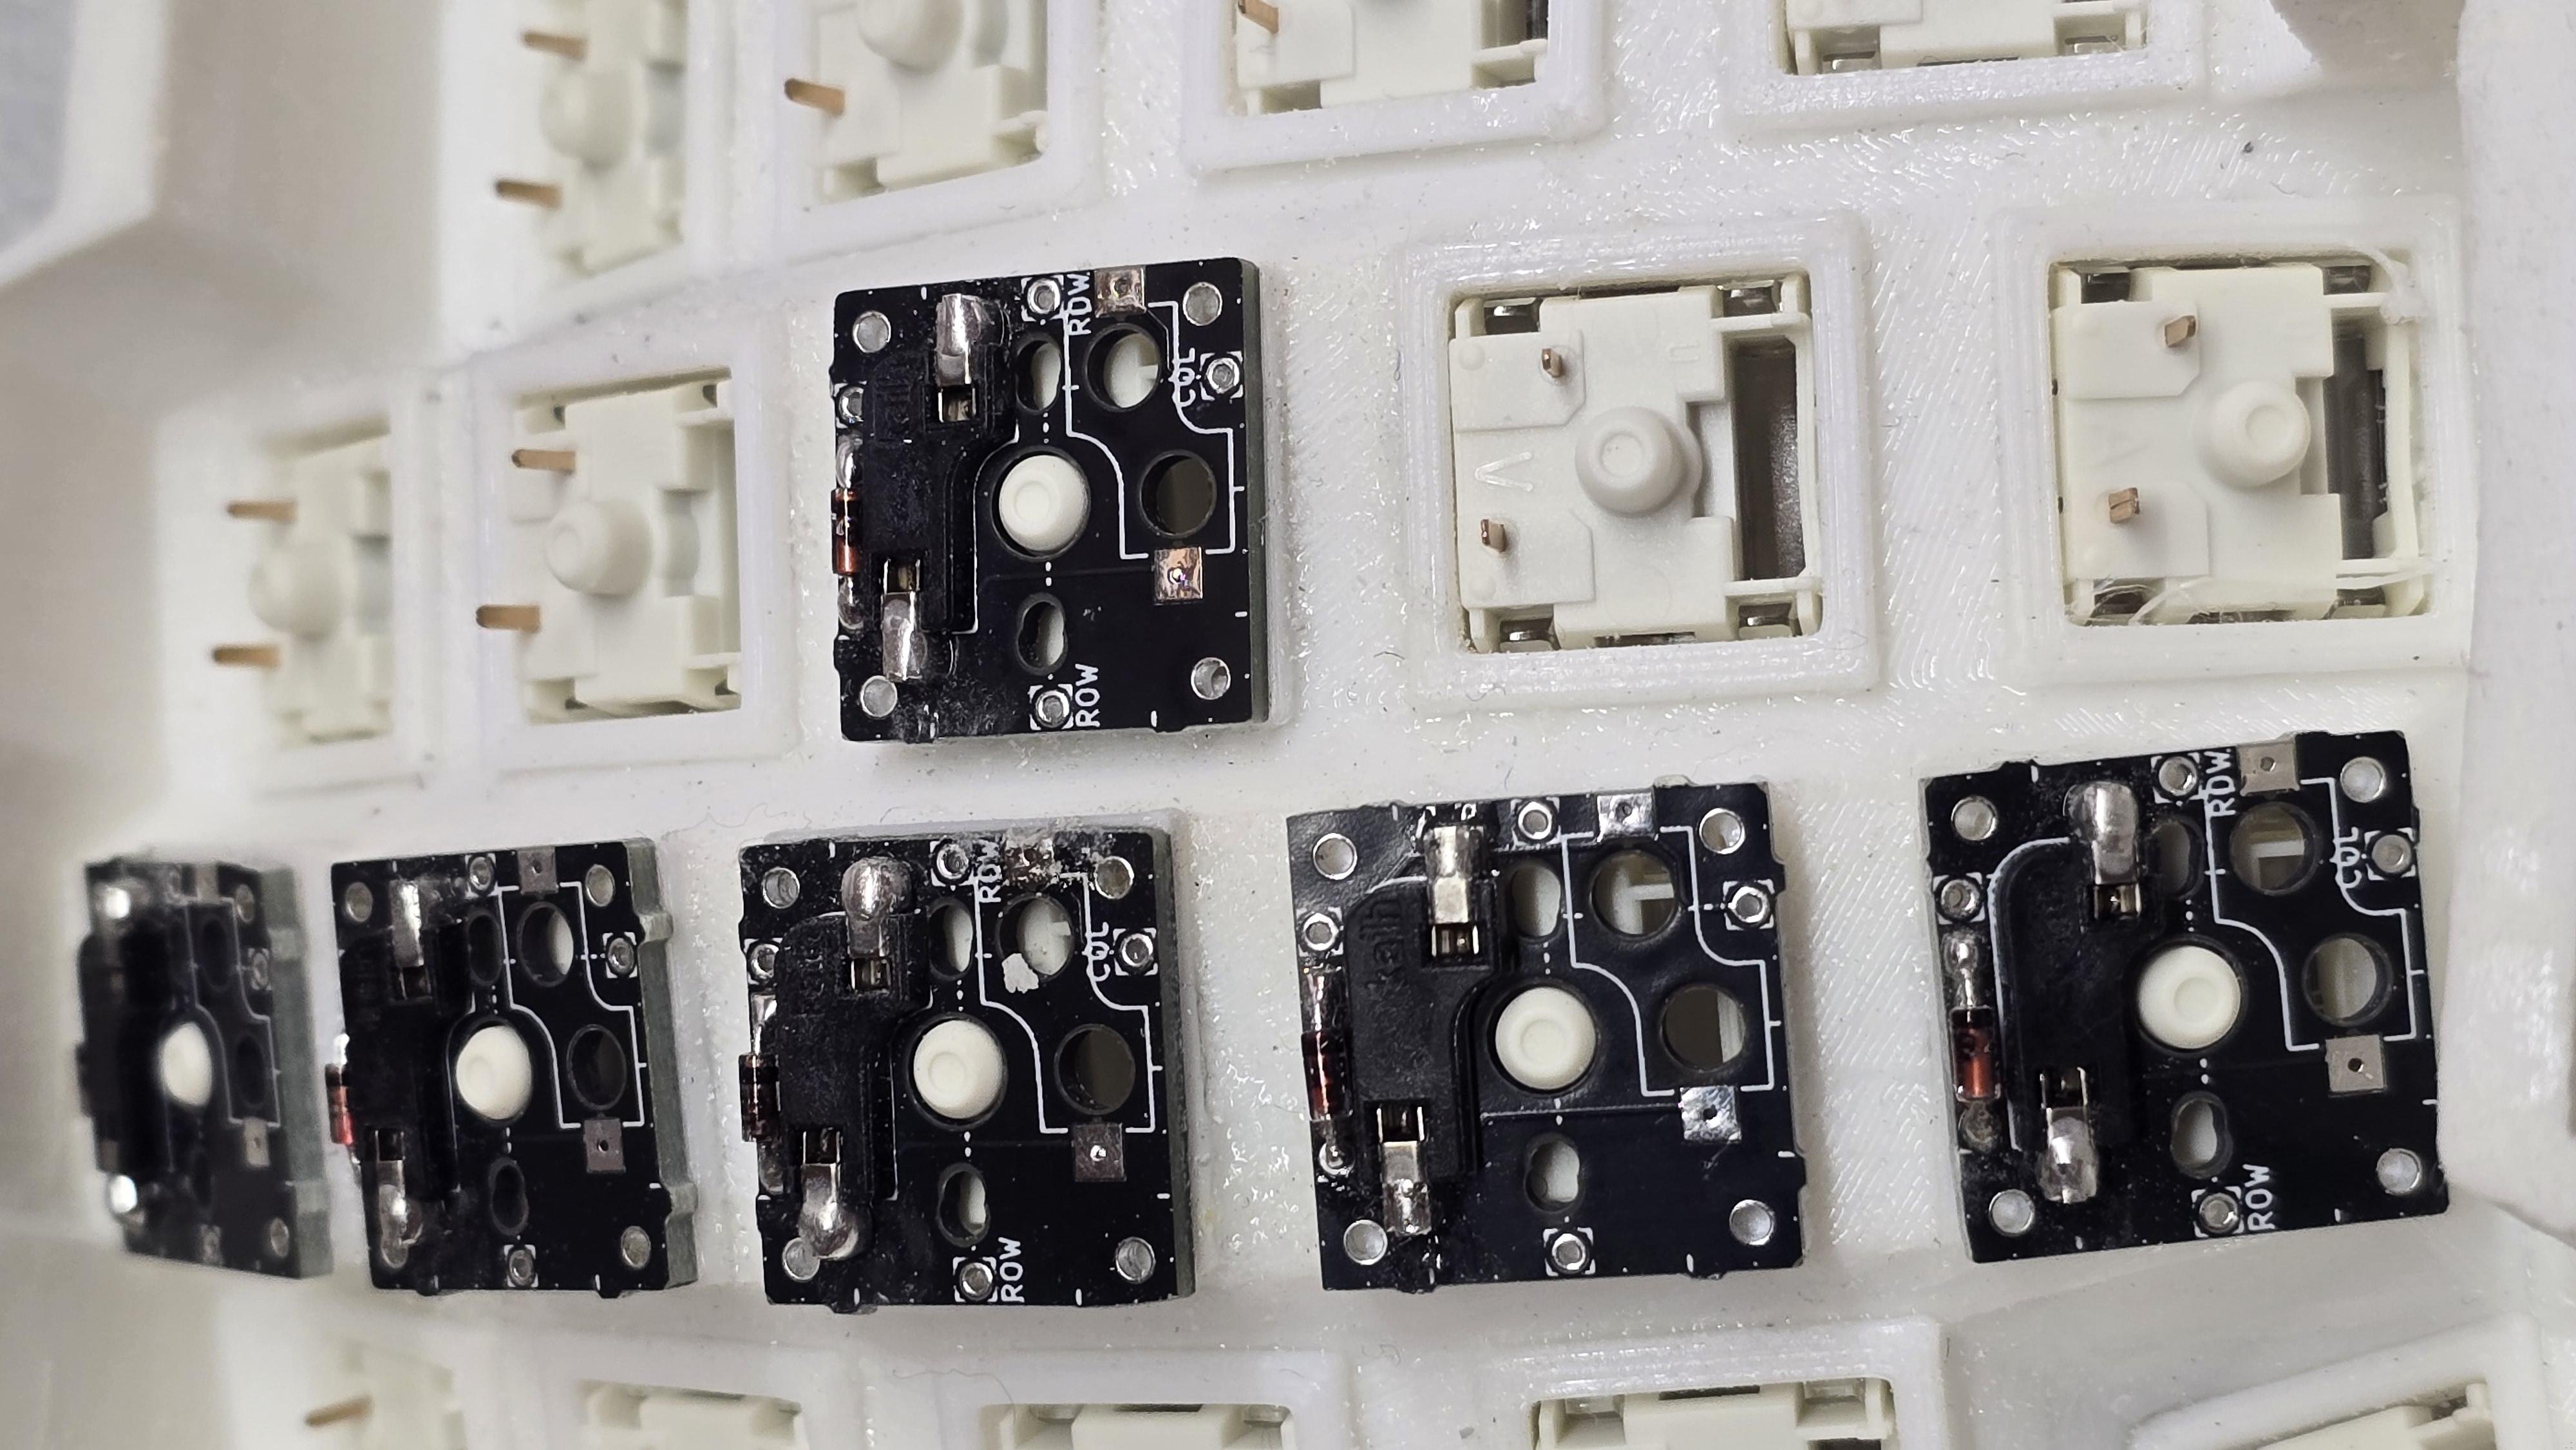
Soldering the PCBs
Ordered the PCBs from https://jlcpcb.com and followed the Building Dactyl Cygnus guide on how to solder them.

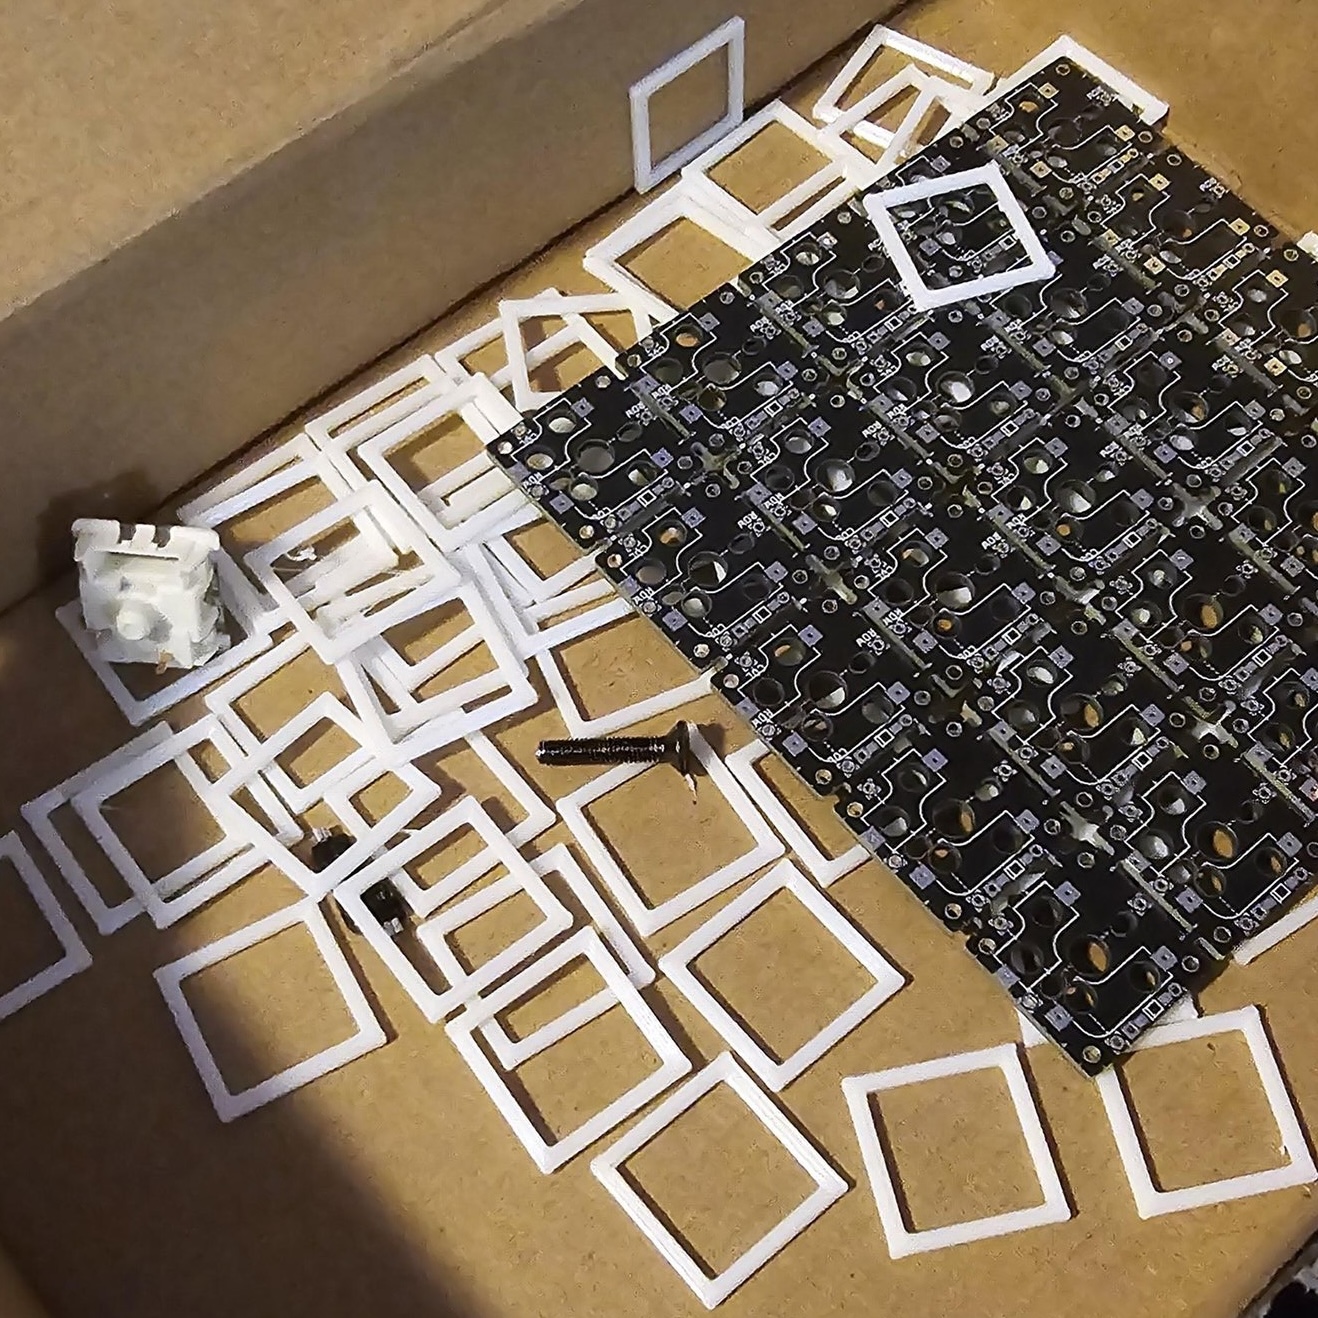
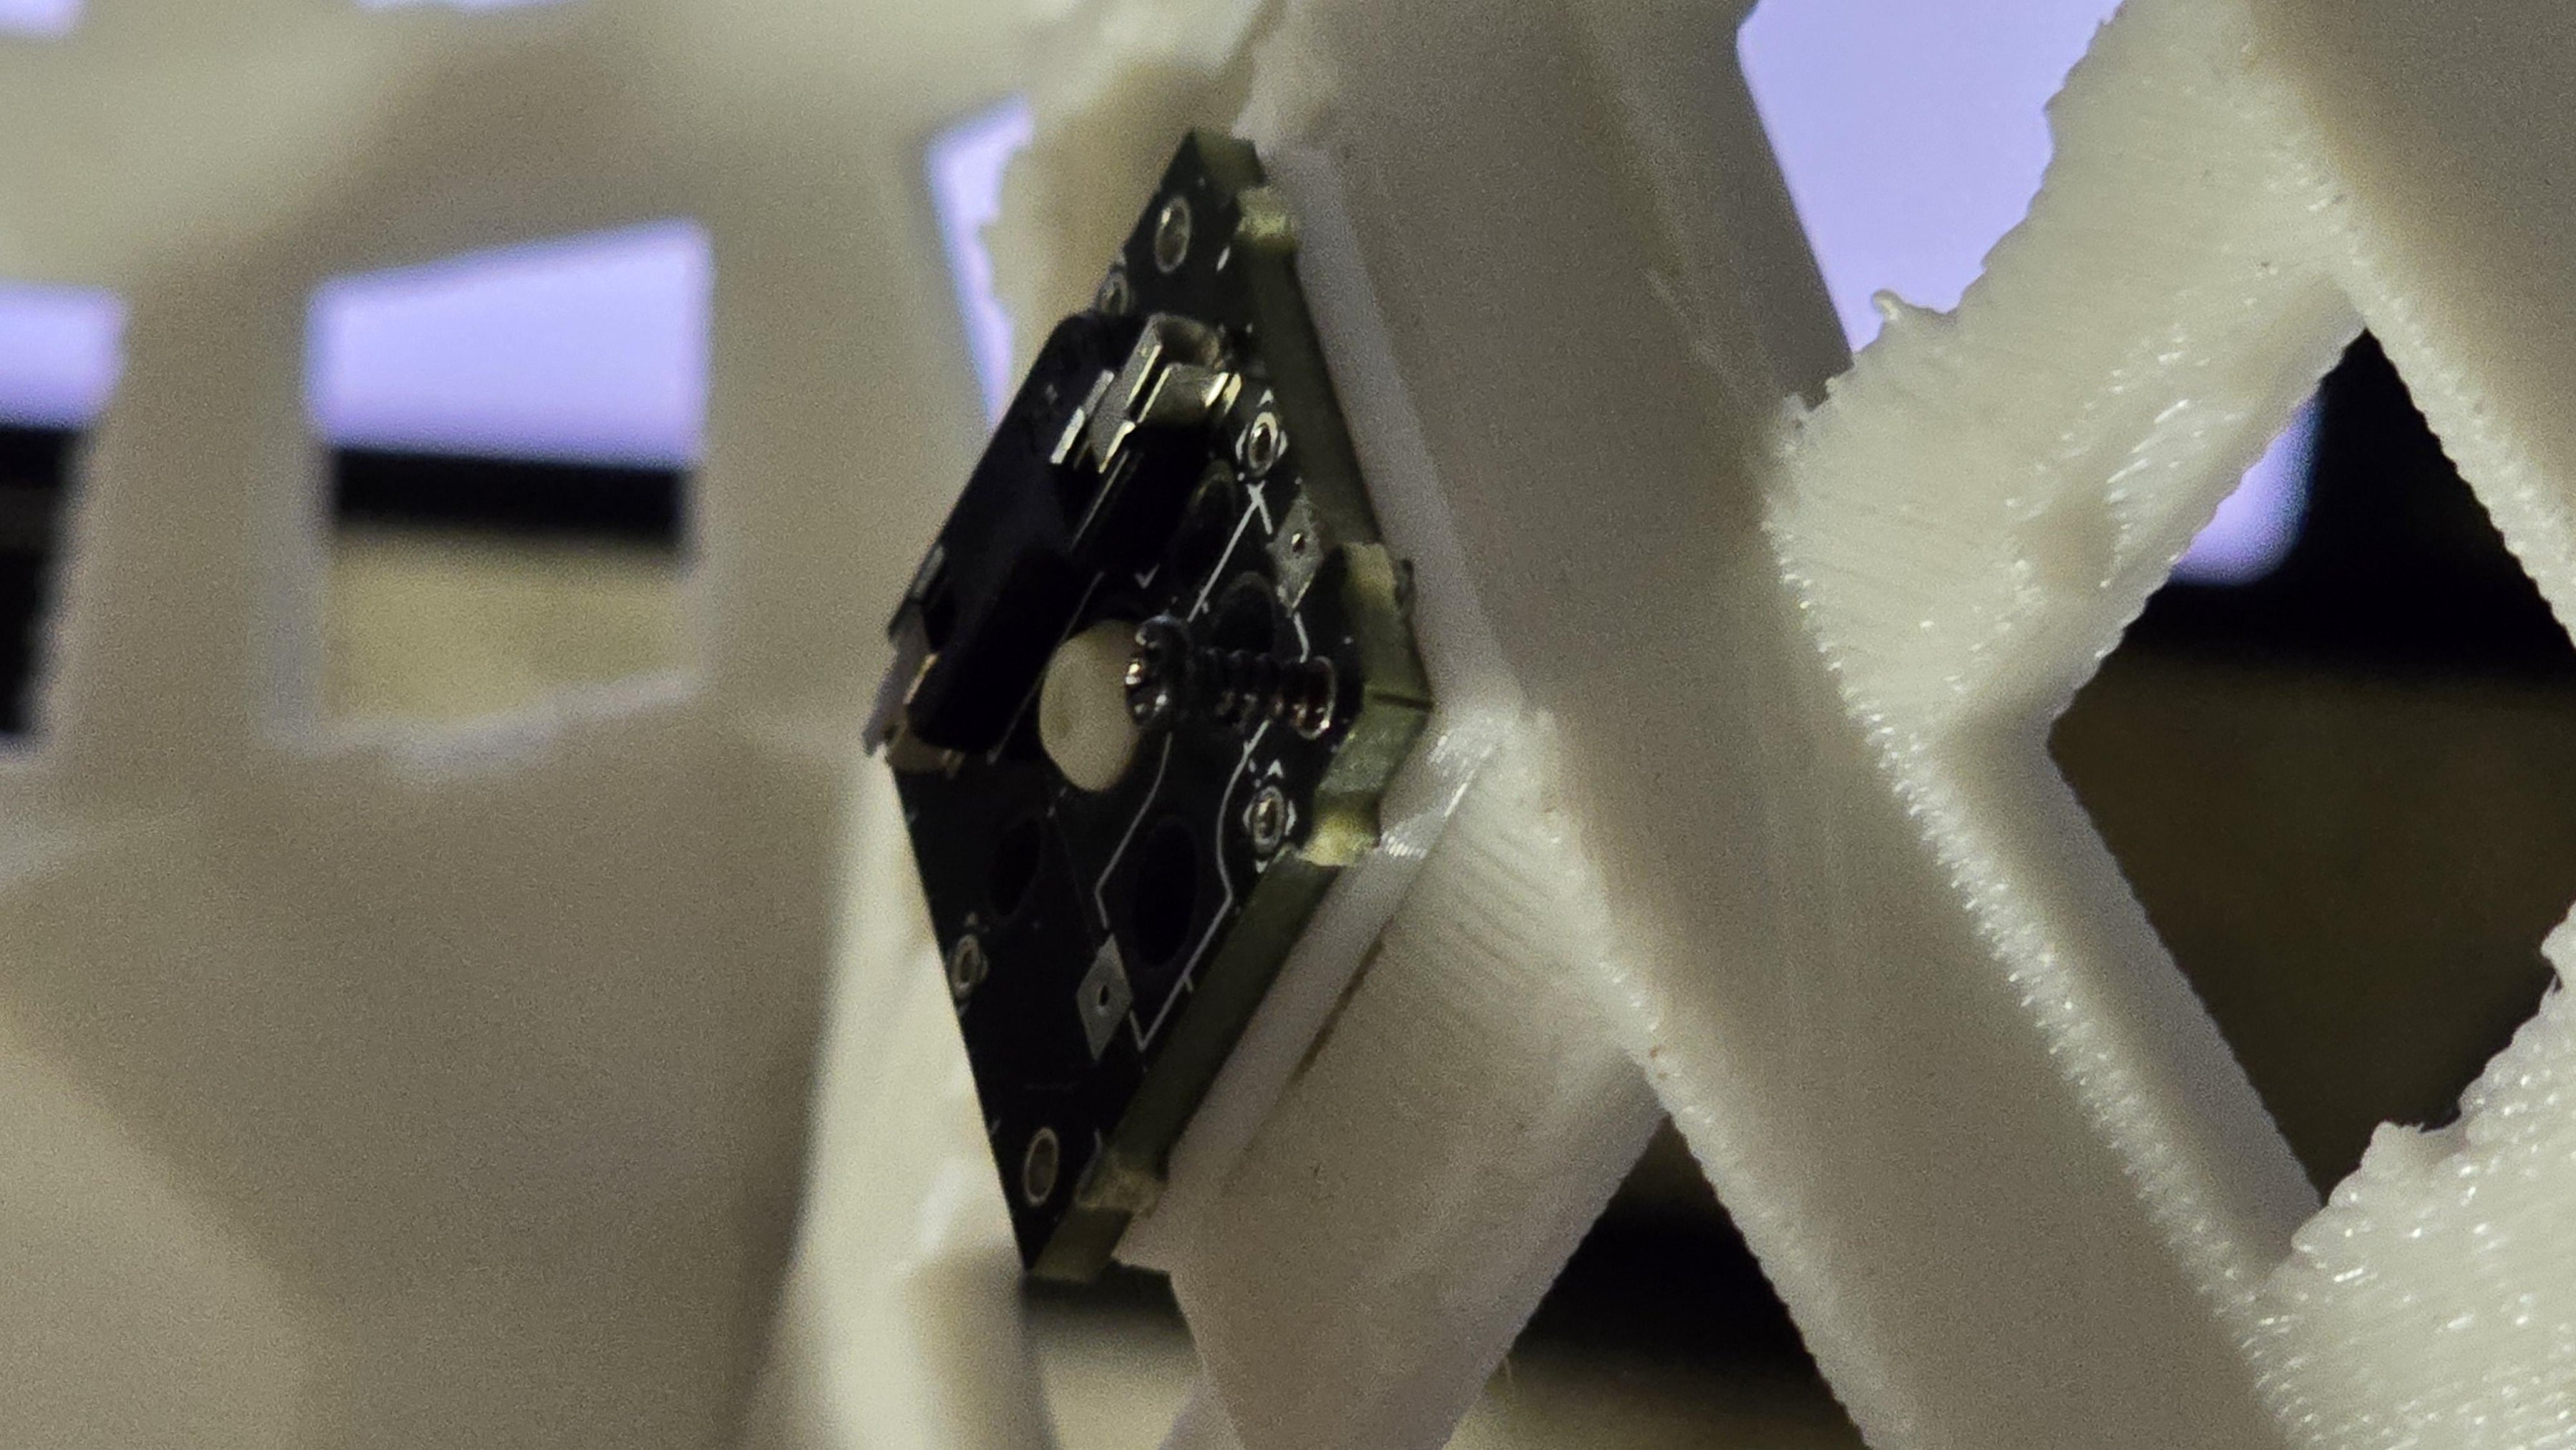
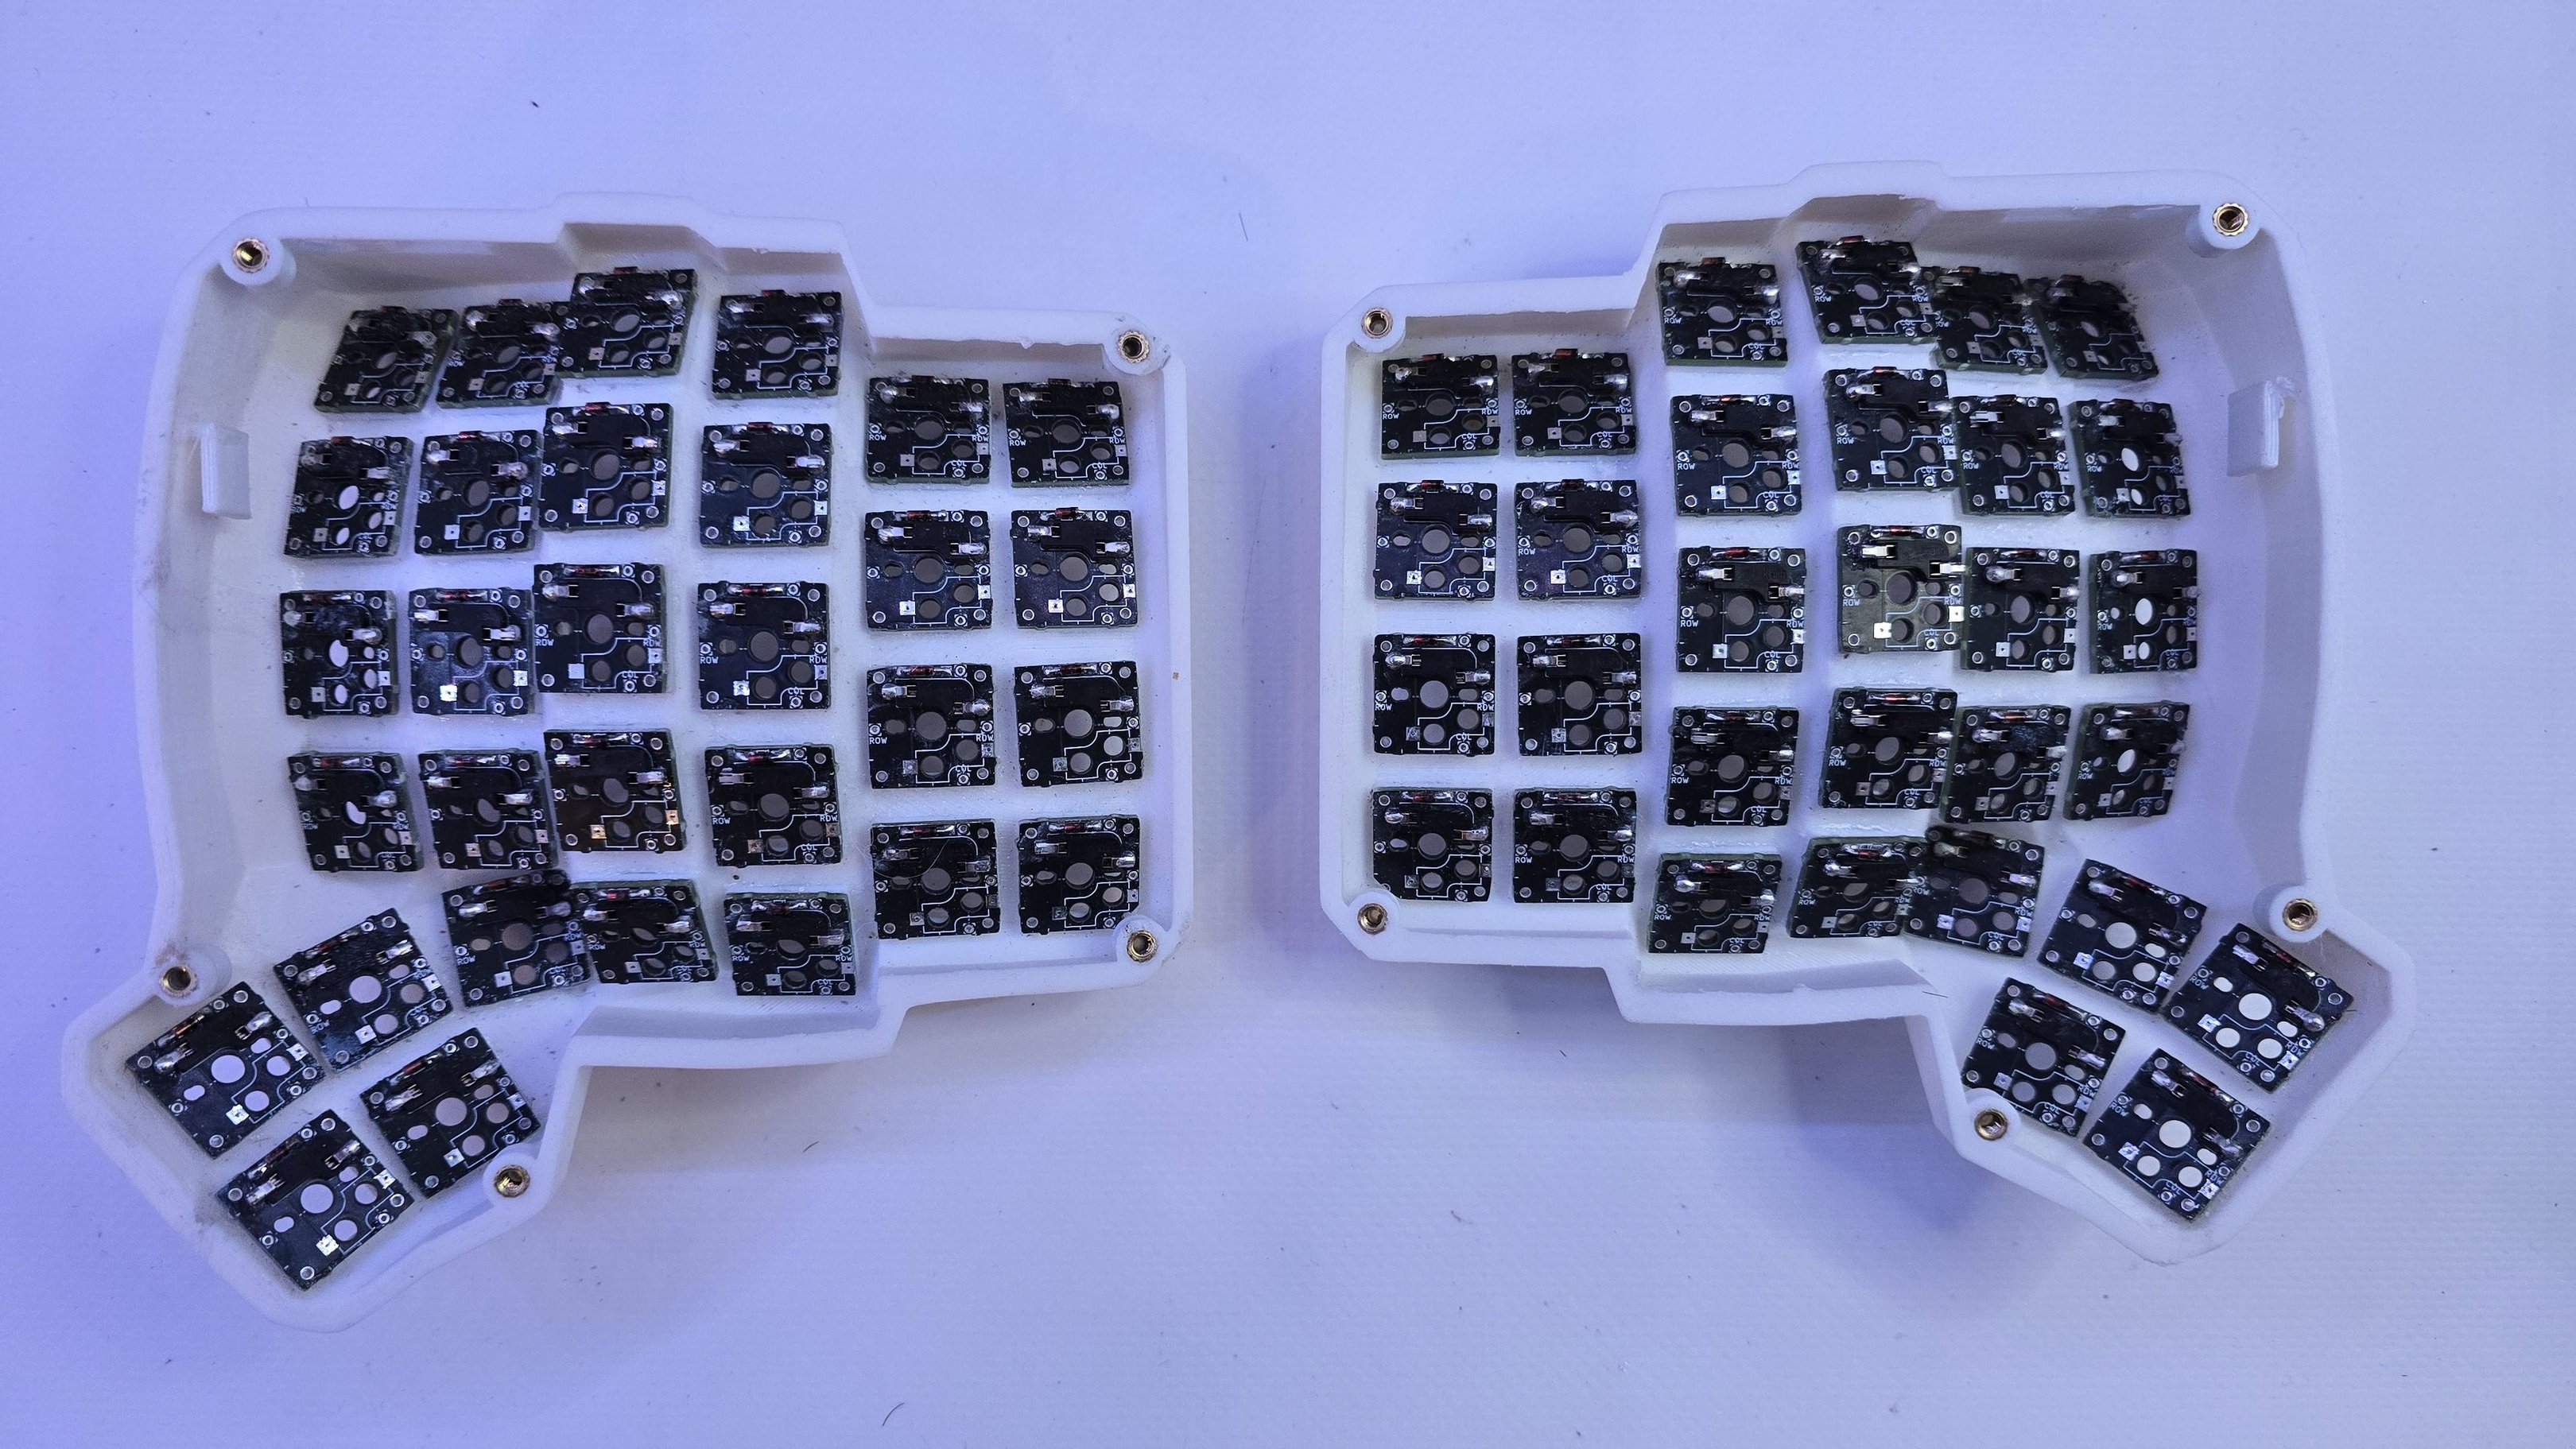
Fitting hot-swappable su120 PCBs
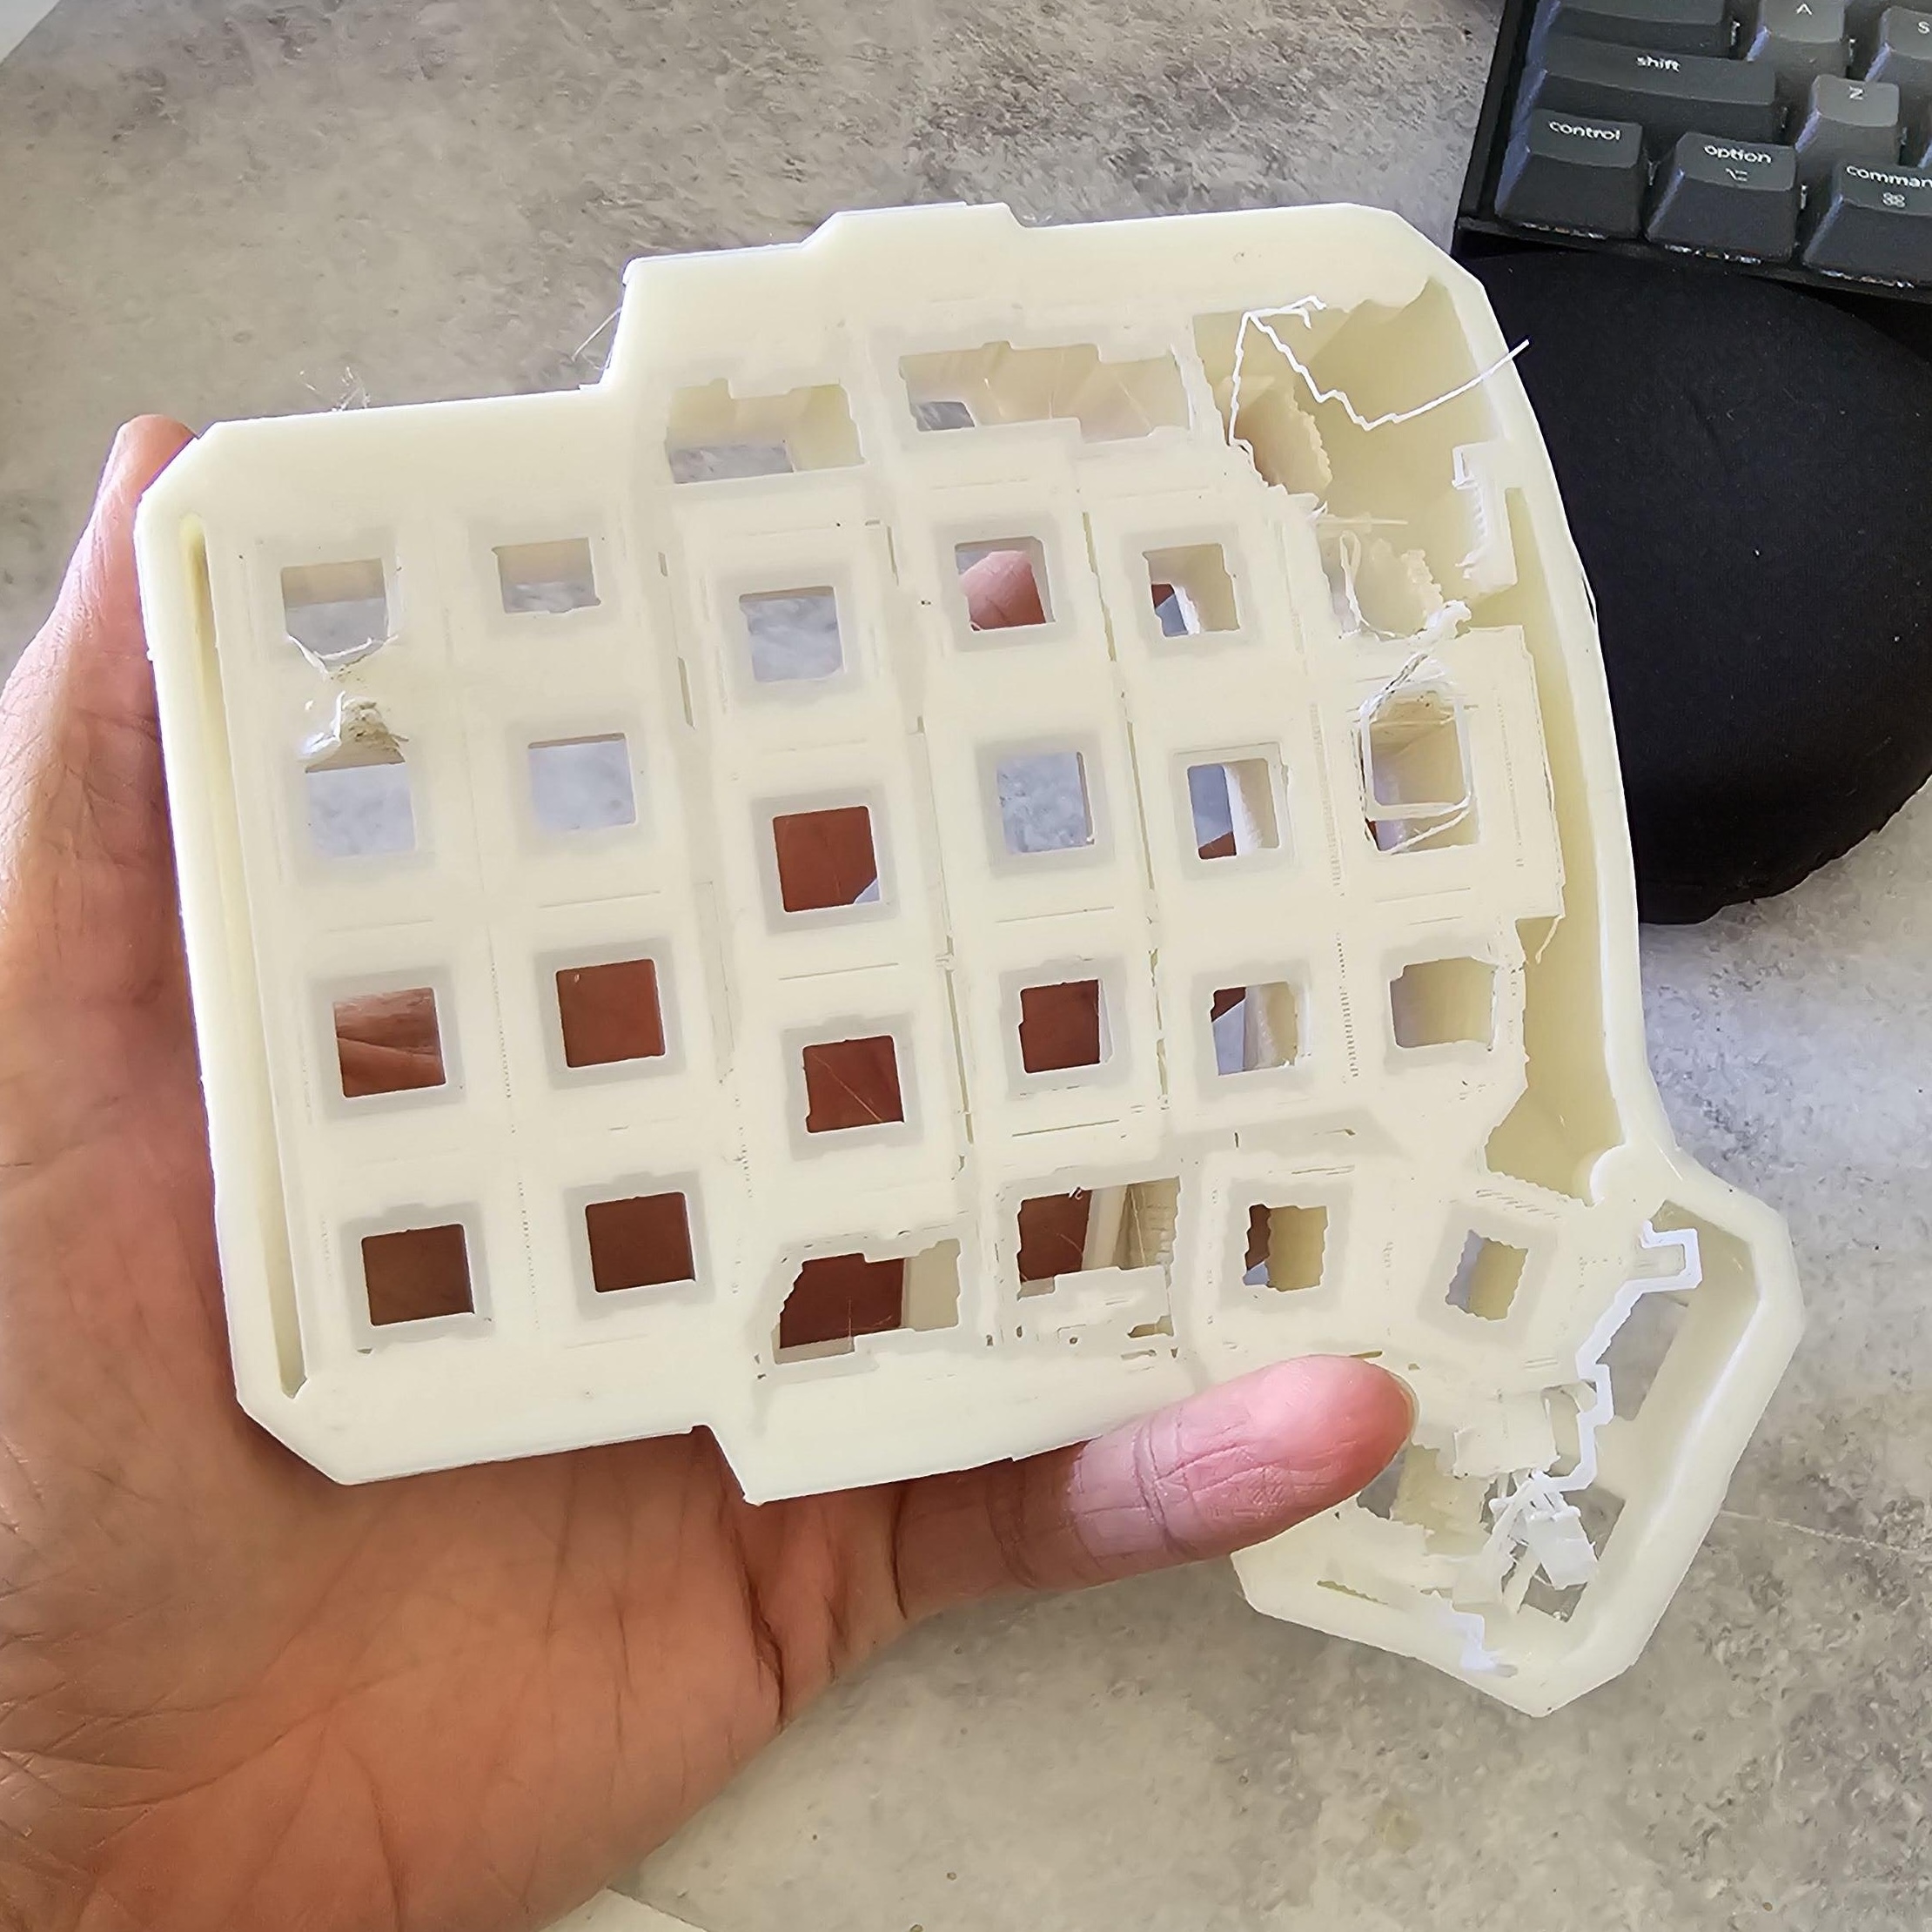
After removing the supports, I put a few switches in and connected the su120s and realized there was a 2mm gap between the PCB and the keyboard body which meant I couldn't glue the PCBs to the body like I had originally planned.
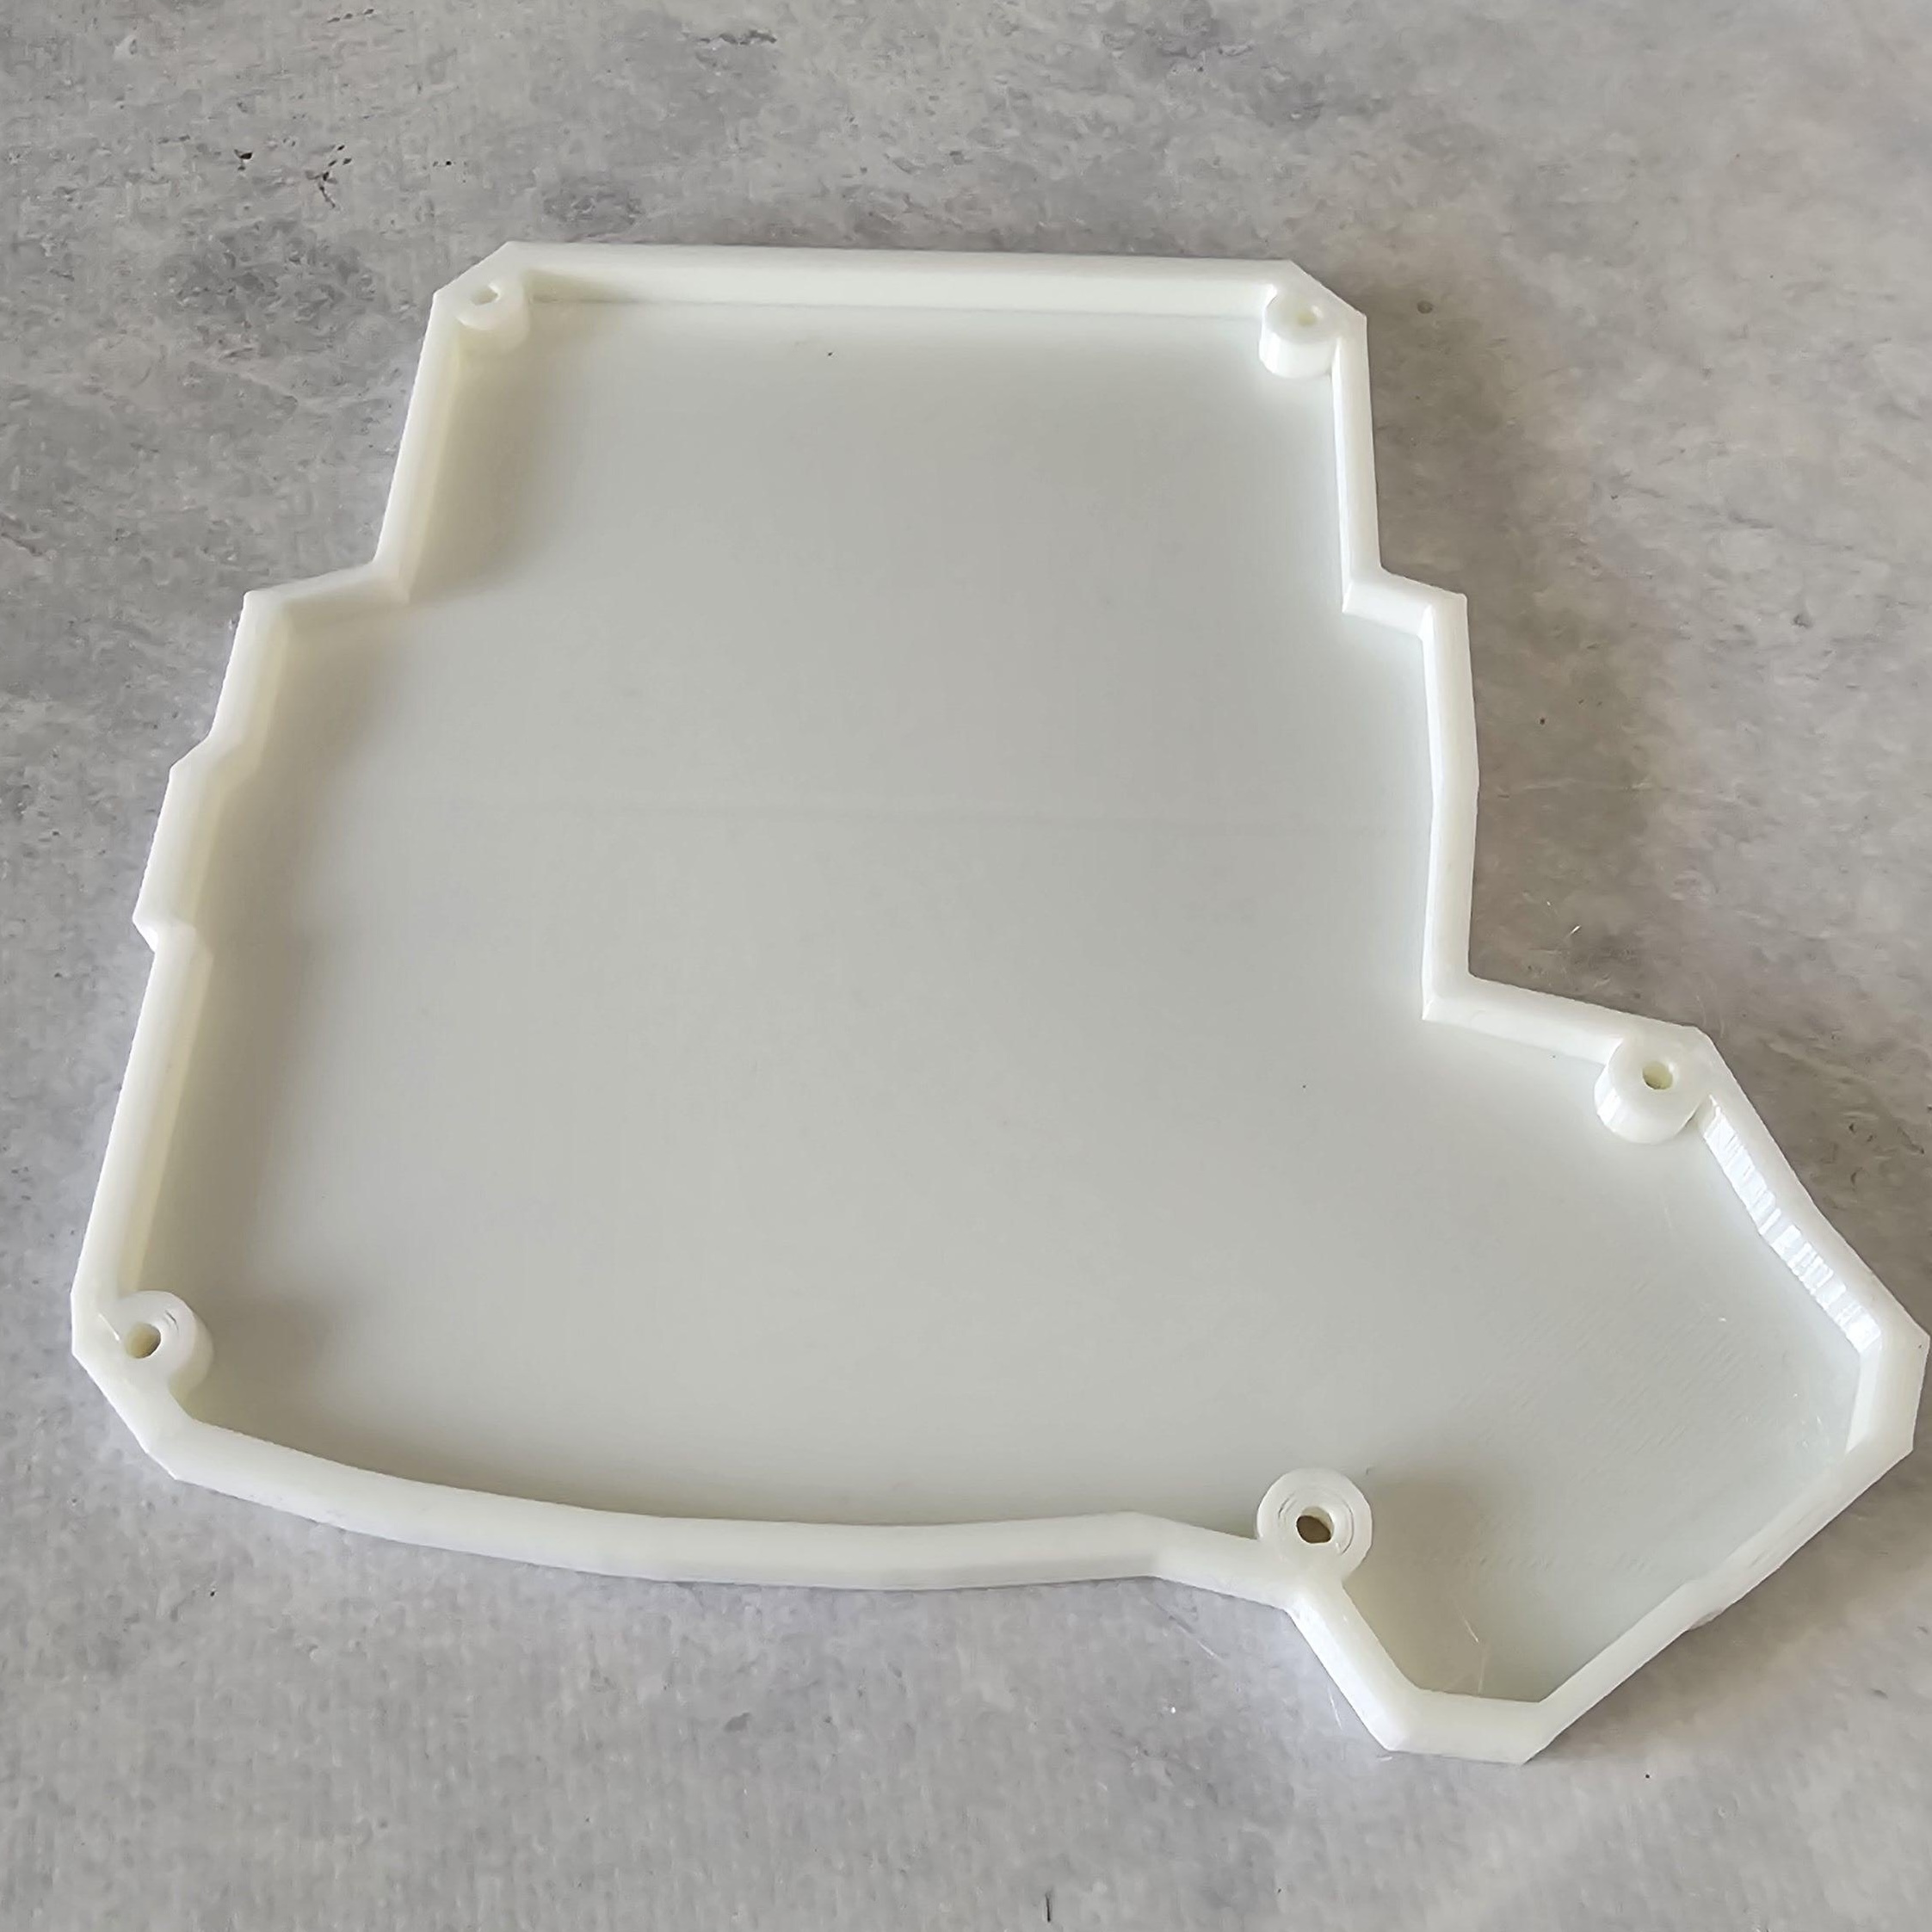
Iterating on the bottom plate
With the bracket and the su120 PCBs, the original bottom plates from joseandres42/dactyl-manuform-mini-keyboard did not properly close. So once again, I had to resort to Tinkercad to design a custom bottom plate that had edges with at least 5mm space where the electronics and cables could fit nicely.

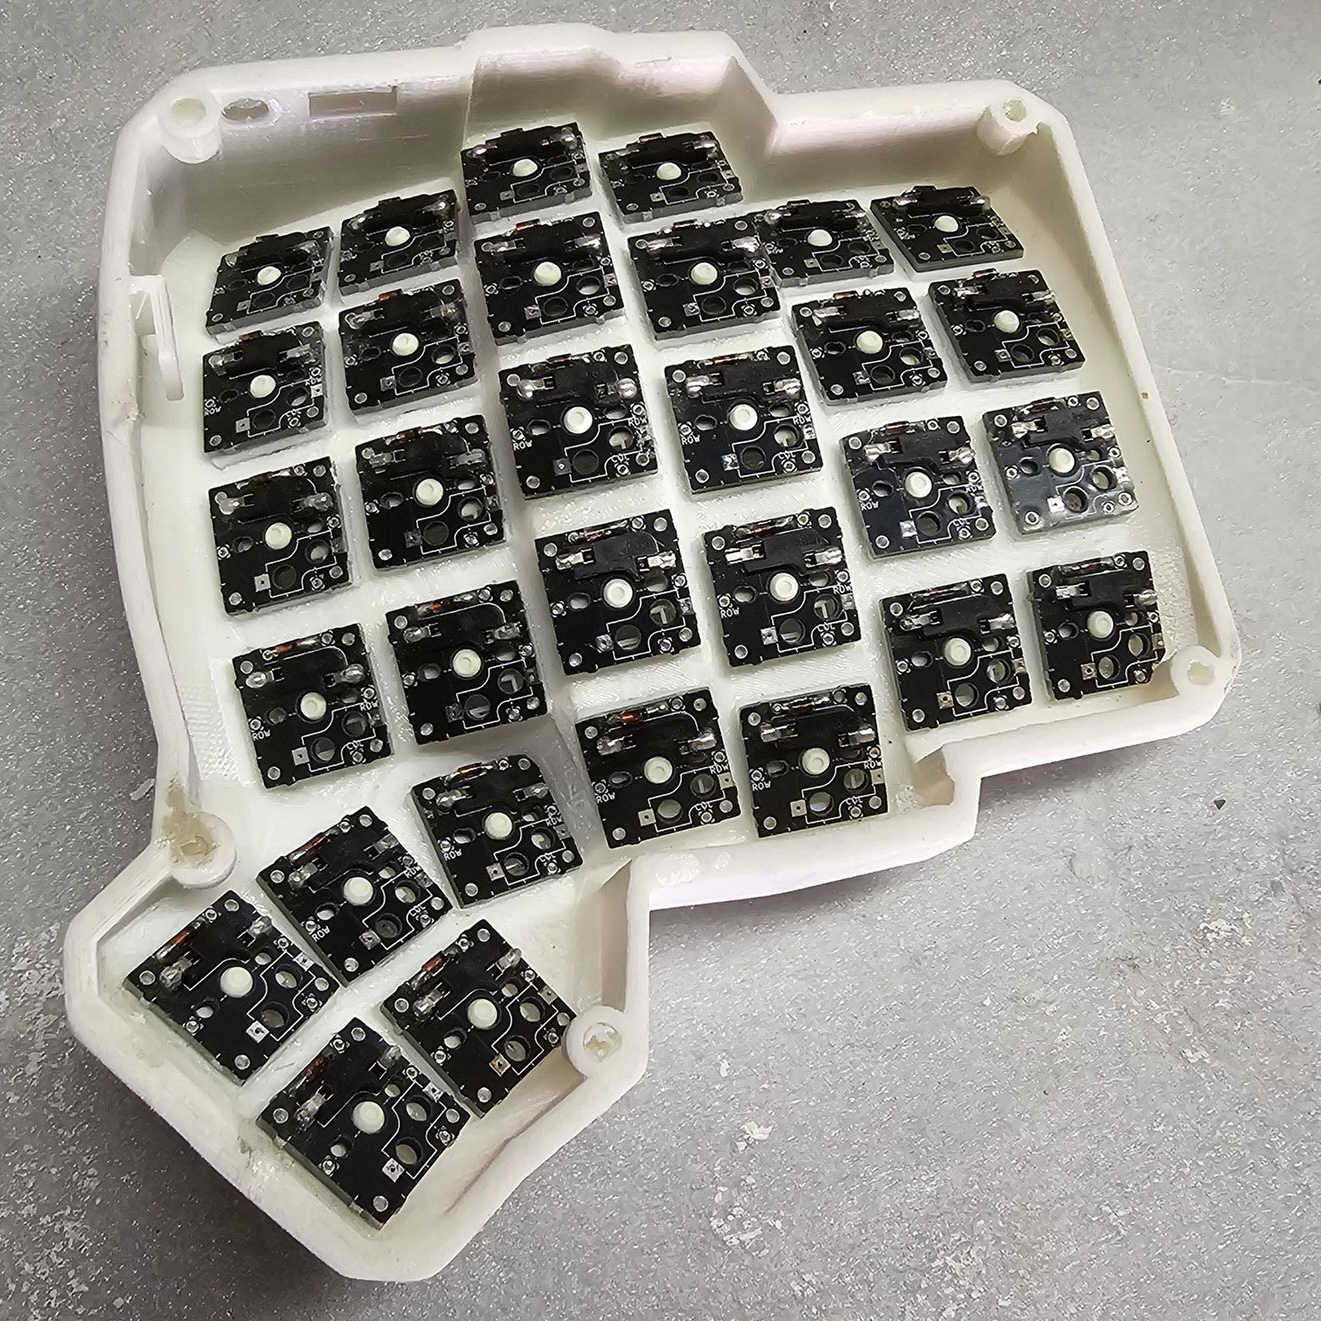
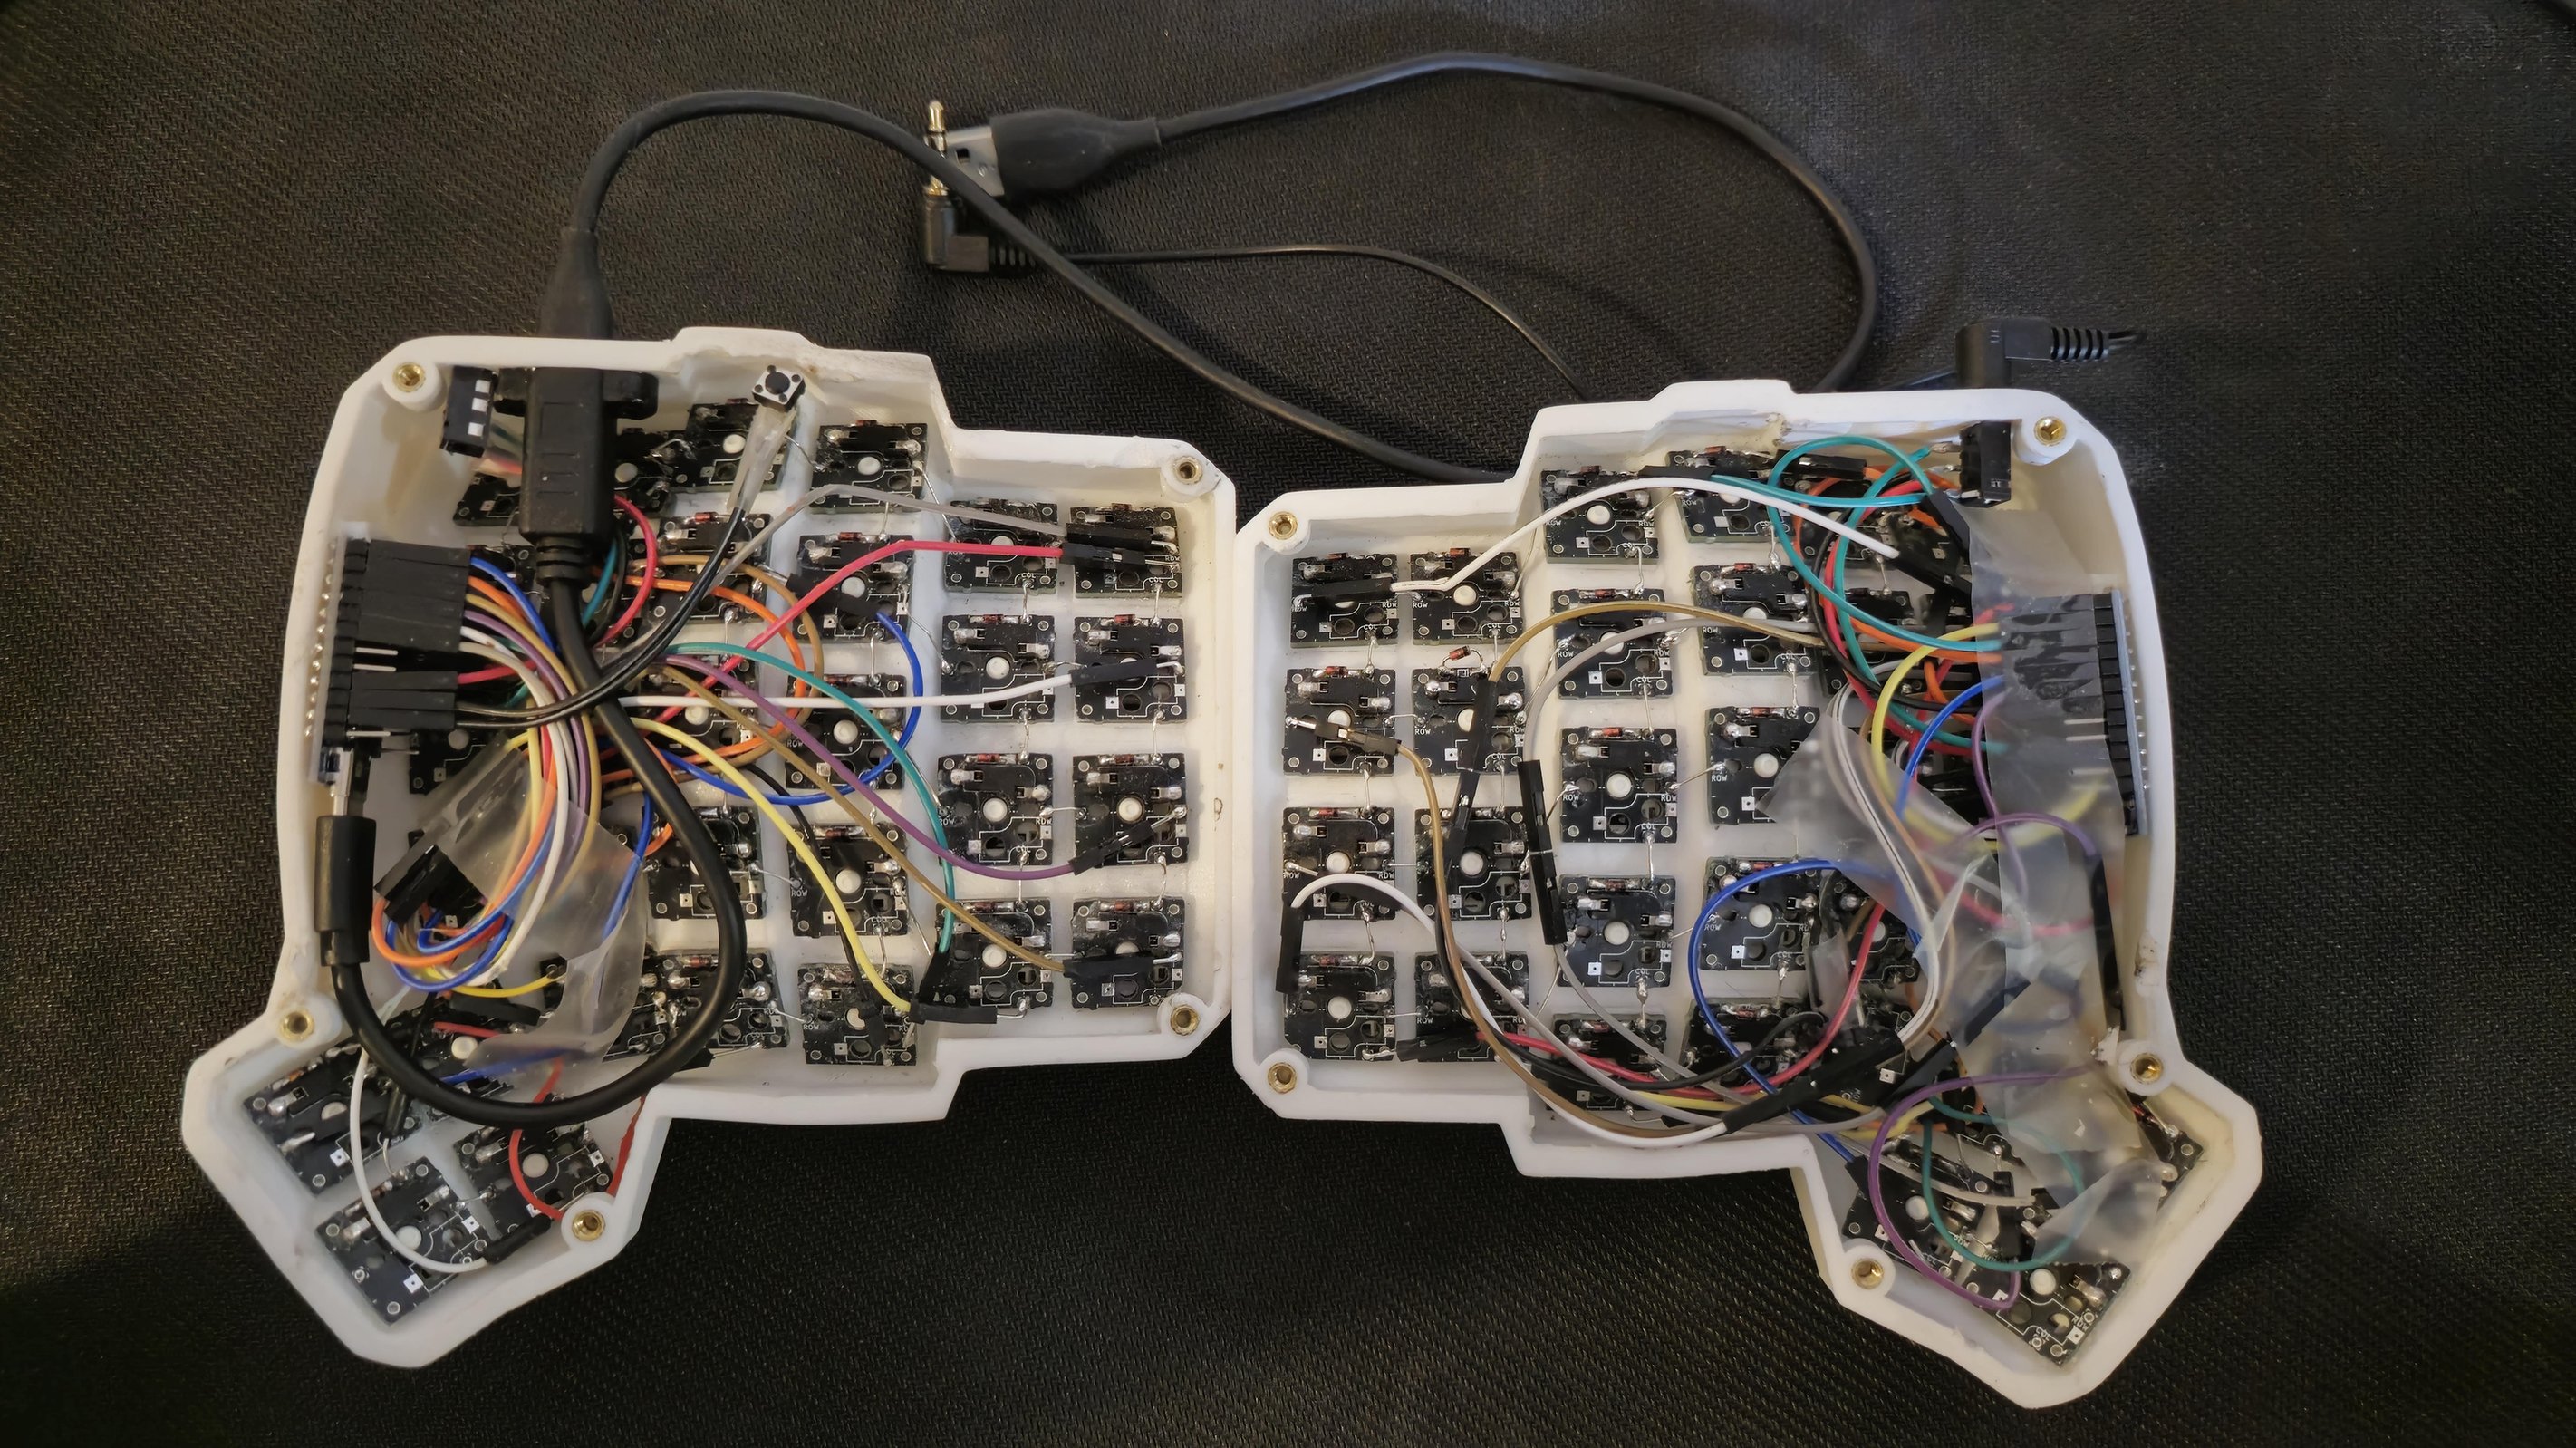
Wiring up the grid and soldering the electronics

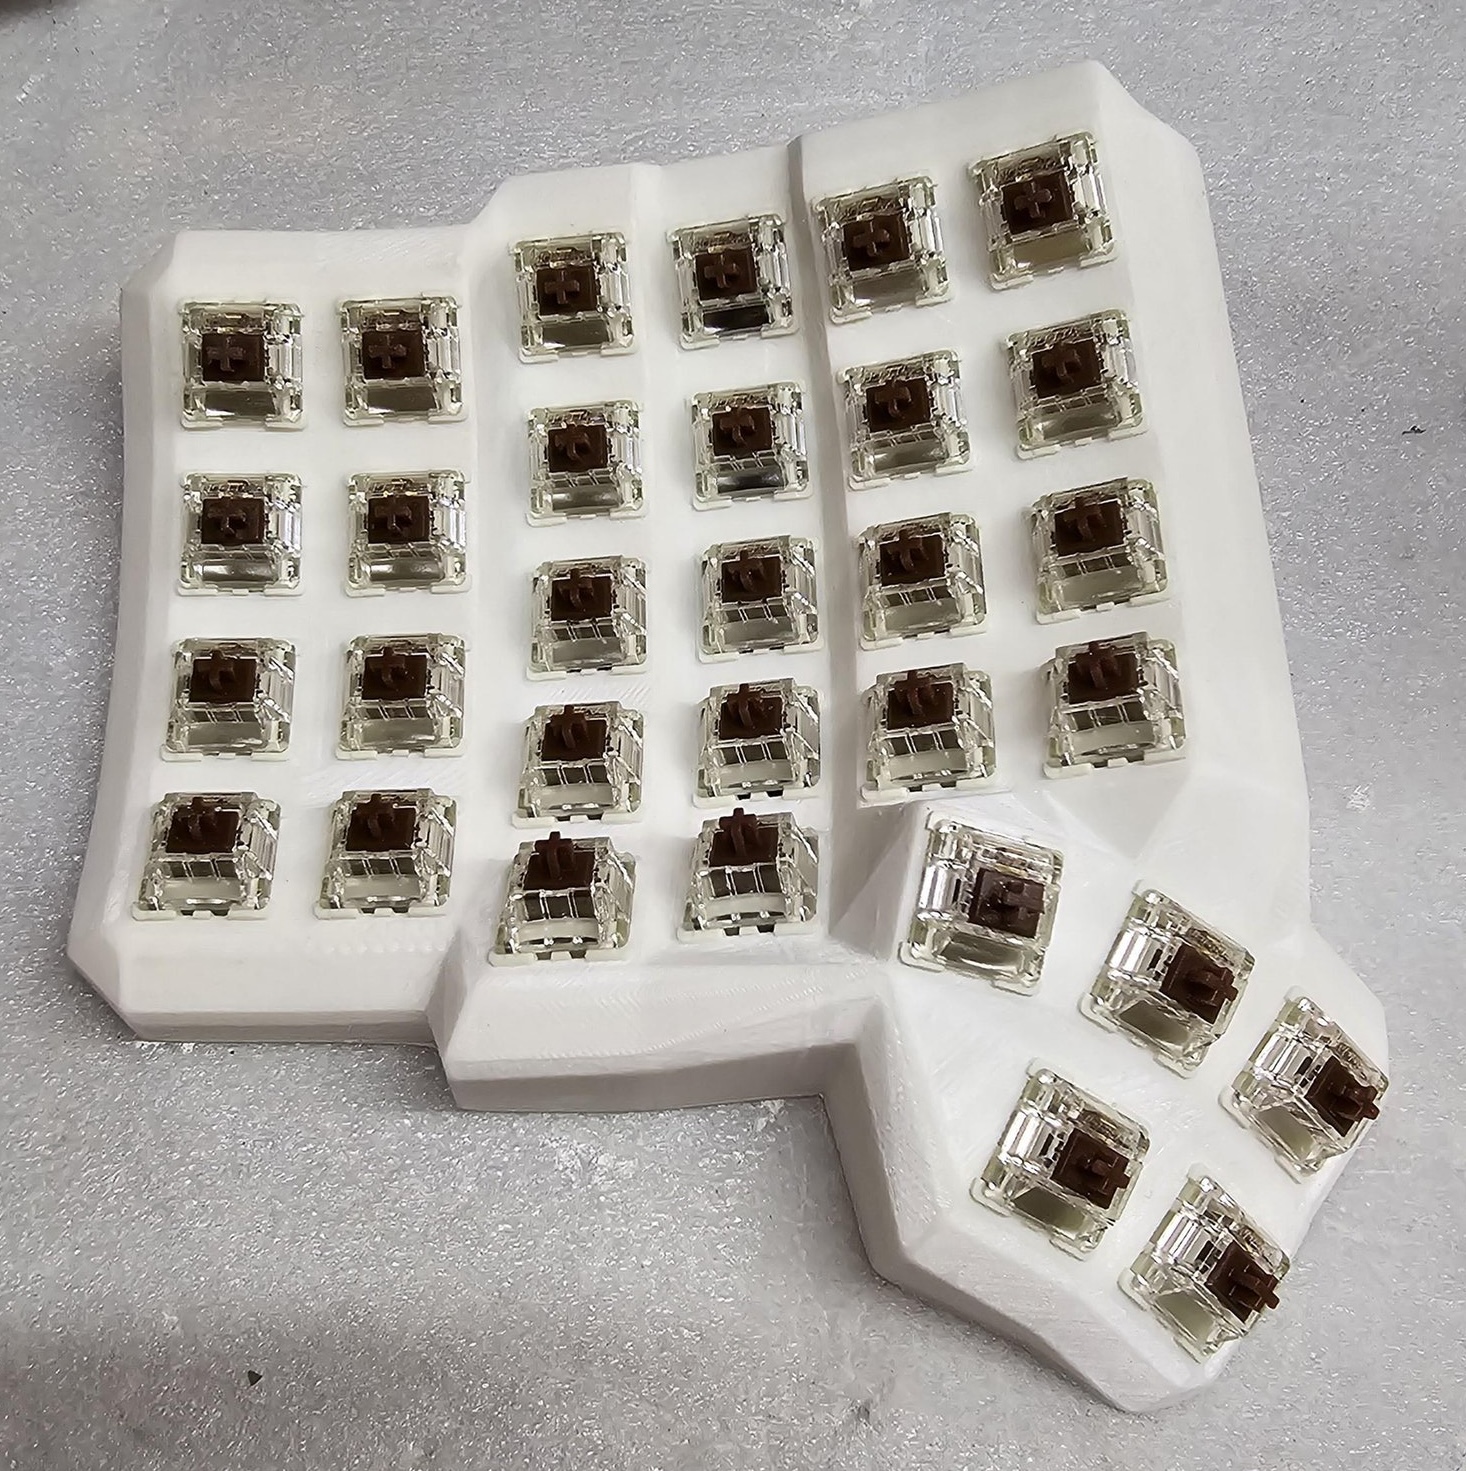
Key switches
I went with Gateron G Pro 3.0 brown switches which is very similar to what I have on my Keychron K2 keyboard that I use daily.
Keycaps
At this point, I hadn't done much research on keycaps and all the profiles but I picked up these green OEM Profile, PBT Keycaps from Temu for really cheap and I love them!

Conclusion and Learnings
Overall, building this keyboard was a very fun experience and it was fun learning how to design basic things in Tinkercad to solve the problems I was having.
Since then, I've discovered ergohaven/dactyl-keyboard and if I was starting from scratch, I would use https://github.com/ergohaven/dactyl-keyboard which is configured in python and has support for 5x6 mini Dactyls as well as holes for screwing in su120s and more.
I also learnt about https://ryanis.cool/cosmos/, which is a cool project that is worth checking out.
Github
I backed up the STLs and Gerber files I used for this build in the following repo